
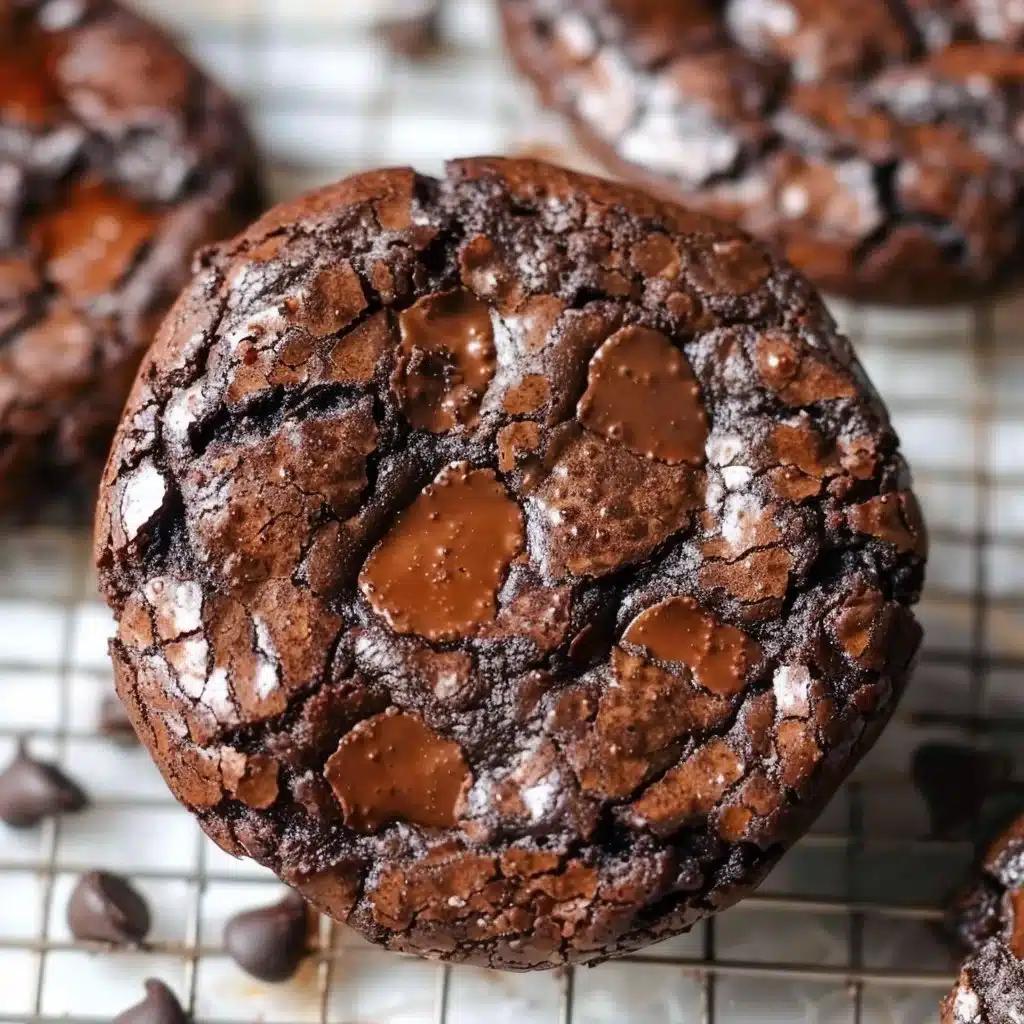
Fudgy Vegan Chocolate Brownie Cookies are the perfect cozy treat when you’re craving something sweet. Picture a rainy afternoon with a cup of tea in hand, and the smell of chocolate wafting through your kitchen. These cookies not only satisfy that sweet tooth, but they also cater to vegan diets, making them a great option for everyone. They’re quick to whip up and deliver a rich, fudgy taste that’ll leave you wanting more.
Why You’ll Love This
This recipe is a must-try because it’s both easy and delicious! You can mix up a batch in less than 30 minutes, making it perfect for weeknight snacks, weekend gatherings, or even special occasions. Plus, they are family-friendly and a hit with kids and adults alike.
“This recipe turned out even better than I expected. It’s simple, but the flavor is amazing.”
Step-by-Step Overview
Making Fudgy Vegan Chocolate Brownie Cookies is simple and straightforward. You’ll combine dry ingredients in one bowl and wet in another, then bring them together quickly. Expect these cookies to have a soft, chewy center, with a delightfully crackly top. They bake up beautifully and will fill your kitchen with an irresistible aroma.
What You’ll Need
Gather these items:
- 1 cup all-purpose flour
- 1/2 cup unsweetened cocoa powder
- 1 cup sugar
- 1/2 cup coconut oil, melted
- 1/4 cup almond milk or other plant-based milk
- 1 teaspoon vanilla extract
- 1/2 teaspoon baking soda
- 1/4 teaspoon salt
- 1/2 cup dairy-free chocolate chips (optional)
Helpful Notes
- Substitutions: Use any plant-based milk you prefer.
- Quality tips: Choose high-quality cocoa powder for a richer flavor.
- Why the ingredient matters: Coconut oil gives a lovely texture and flavor.
- Optional add-ins: Try adding nuts or dried fruit for an extra crunch.
Step-by-Step Instructions
- Preheat your oven to 350°F (175°C) and line a baking sheet with parchment paper.
- In a large bowl, whisk together the flour, cocoa powder, sugar, baking soda, and salt.
- In another bowl, mix the melted coconut oil, almond milk, and vanilla extract.
- Pour the wet mix into the dry ingredients and stir until just combined. Fold in chocolate chips if using.
- Drop tablespoon-sized balls of dough onto the prepared baking sheet, giving them about 2 inches of space.
- Bake for 10–12 minutes, until the tops are crackly and firm.
- Allow the cookies to cool on the baking sheet for a few minutes, then transfer to a wire rack to cool completely.
Best Ways to Enjoy It
These fudgy vegan cookies are delightful on their own, but you can elevate them by pairing them with:
- Side dishes: A scoop of vegan ice cream or yogurt.
- Garnish ideas: Sprinkle some sea salt or powdered sugar on top.
- Occasion ideas: Serve at birthday parties, potlucks, or cozy get-togethers.
Storage and Reheating Tips
To keep your cookies fresh:
- Refrigerator storage time: Store in an airtight container for up to a week.
- Freezer guidance: You can freeze them for up to three months.
- Reheating method: Microwave for a few seconds or warm them in the oven.
- Food safety notes: Always store cookies in a cool place to maintain texture.
Helpful Cooking Tips
Here are some tips for the best results:
- Avoid overmixing the dough, which can make the cookies tough.
- If you prefer a thicker cookie, chill the dough for about 30 minutes before baking.
- For a chewier texture, underbake them slightly; they’ll firm up as they cool.
Creative Twists
Feel free to experiment with different flavors:
- Flavor variations: Add a pinch of cinnamon for a warm spice.
- Dietary swaps: Use gluten-free flour for a gluten-free version.
- Ingredient swaps: Substitute maple syrup for sugar for a different sweetness.
Common Questions
- Can I make it ahead? Yes, these cookies store well, so you can make them a day in advance.
- Can I freeze it? Absolutely! They freeze beautifully.
- Can I substitute an ingredient? Yes, many ingredients can be swapped, like oils or milk options.
- Why did mine turn out dry/wet? If they’re dry, you may have overbaked or used too much flour. For wet cookies, consider how wet your ingredients are.
- How long does it last? In an airtight container, they last about a week at room temperature.
Final Thoughts
Fudgy Vegan Chocolate Brownie Cookies are a delightful treat worth making. They’re easy to prepare, taste incredible, and are perfect for sharing. Try them out and see how satisfying homemade cookies can be. You can save this recipe for your next baking day or customize it to fit your cravings!
PrintFudgy Vegan Chocolate Brownie Cookies

Rich and fudgy vegan chocolate brownie cookies, perfect for satisfying your sweet tooth on a cozy day.
- Prep Time: 15 minutes
- Cook Time: 12 minutes
- Total Time: 27 minutes
- Yield: 24 cookies
- Category: Dessert
- Method: Baking
- Cuisine: Vegan
- Diet: Vegan
Ingredients
- 1 cup all-purpose flour
- 1/2 cup unsweetened cocoa powder
- 1 cup sugar
- 1/2 cup coconut oil, melted
- 1/4 cup almond milk or other plant-based milk
- 1 teaspoon vanilla extract
- 1/2 teaspoon baking soda
- 1/4 teaspoon salt
- 1/2 cup dairy-free chocolate chips (optional)
Instructions
- Preheat your oven to 350°F (175°C) and line a baking sheet with parchment paper.
- Whisk together the flour, cocoa powder, sugar, baking soda, and salt in a large bowl.
- Mix the melted coconut oil, almond milk, and vanilla extract in another bowl.
- Pour the wet mix into the dry ingredients and stir until just combined. Fold in chocolate chips if using.
- Drop tablespoon-sized balls of dough onto the prepared baking sheet, giving them about 2 inches of space.
- Bake for 10–12 minutes, until the tops are crackly and firm.
- Allow the cookies to cool on the baking sheet for a few minutes, then transfer to a wire rack to cool completely.
Notes
Store in an airtight container for up to a week, or freeze for up to three months. To enjoy warm, microwave for a few seconds.