
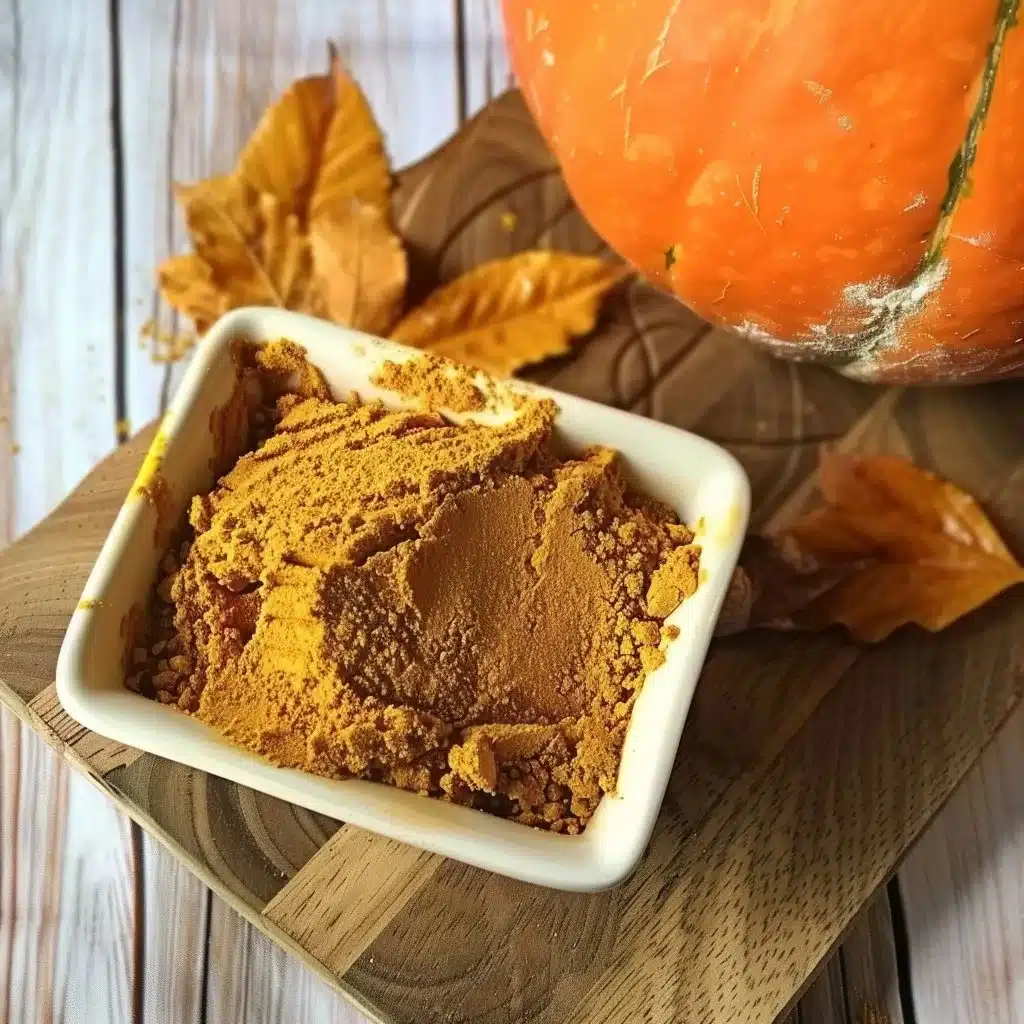
I am completely obsessed with this pumpkin flour. The aroma of roasting pumpkin wafting through the kitchen is a gentle reminder that fall is here and cozy dishes are just around the corner. Not only is it nutritious, but pumpkin flour has this lovely earthy sweetness that enhances the flavor of baked goods, soups, and even savory dishes. Imagine the warm, comforting taste of pumpkin pancakes or a creamy pumpkin soup, and you can see why I can’t stop experimenting with this ingredient.
Let’s not forget about how easy it is to make! This is a perfect project for those busy weeknights when you want to whip up something that tastes gourmet without spending hours in the kitchen. And if you’re searching for a delightful side dish to complement it, try pairing the pumpkin flour with some homemade cinnamon spiced muffins. Trust me, your family will thank you.
Why You Will Love This Recipe
You will soon see why pumpkin flour deserves a spot in your pantry. Whether you are a seasoned baker or just starting, this recipe is a breeze.
Fast and Easy: This recipe allows you to turn fresh pumpkin into flour in mere hours. Once you get the hang of it, you’ll have fresh pumpkin flour ready for your baking in no time.
Simple Ingredients: All you need is a pumpkin. Forget hunting for rare spices or exotic herbs. Pumpkin is a seasonal staple that adds a touch of comfort to your kitchen.
One Pan Wonder: Cleaning up is a cinch. With basically one gadget—the dehydrator—there’s minimal mess involved. Just rinse your knife and cutting board, and you’re done.
Crowd Pleaser: Everyone from kids to adults loves the rich flavor of pumpkin. You can incorporate it into treats or savory meals, and I promise, no one will complain.
Make Ahead Friendly: You can prepare this flour in bulk and store it for months. Ideal for those who want to get ahead of their baking game.
Ingredient Notes
Understanding what goes into your pumpkin flour can make the process even more exciting.
You only need fresh pumpkin, which is the backbone of this recipe. Not only does it give flavor, but it’s also packed with nutrients. When selecting a pumpkin, go for a sugar pumpkin or a pie pumpkin. They are sweeter and more flavorful than the traditional Halloween carving ones.
For best results, remove the seeds and stringy insides as they can affect the texture of your flour. If you can’t find a fresh pumpkin, canned pumpkin puree is a viable alternative, just be cautious, as it will not yield flour but can be used in recipes that call for it.
Here are a couple of substitutions you can consider:
- Sugar Pumpkin: If they are out of season, use butternut squash which has a similar taste.
- Canned Pumpkin: In a pinch, this will work if you’re baking right away, but know that it’s not the same as homemade flour.
Ingredients
- Fresh pumpkin
How to Make Pumpkin Flour
Begin by washing and cutting your pumpkin into halves, removing the seeds and stringy insides.
Make sure to remove as much of the strings as possible for a fine flour later.Cut the pumpkin into smaller pieces for easier dehydration.
This not only speeds up the dehydrating process but makes blending much smoother.Place the pumpkin pieces on a dehydrator tray and set the dehydrator to 125°F (52°C).
Don’t crowd the pieces, or they won’t dry evenly.Dehydrate for about 6-12 hours, or until fully dried and crisp.
Check periodically; you want them completely dry but not burnt.Once dried, let the pieces cool and then blend them in a blender or food processor until a fine powder forms.
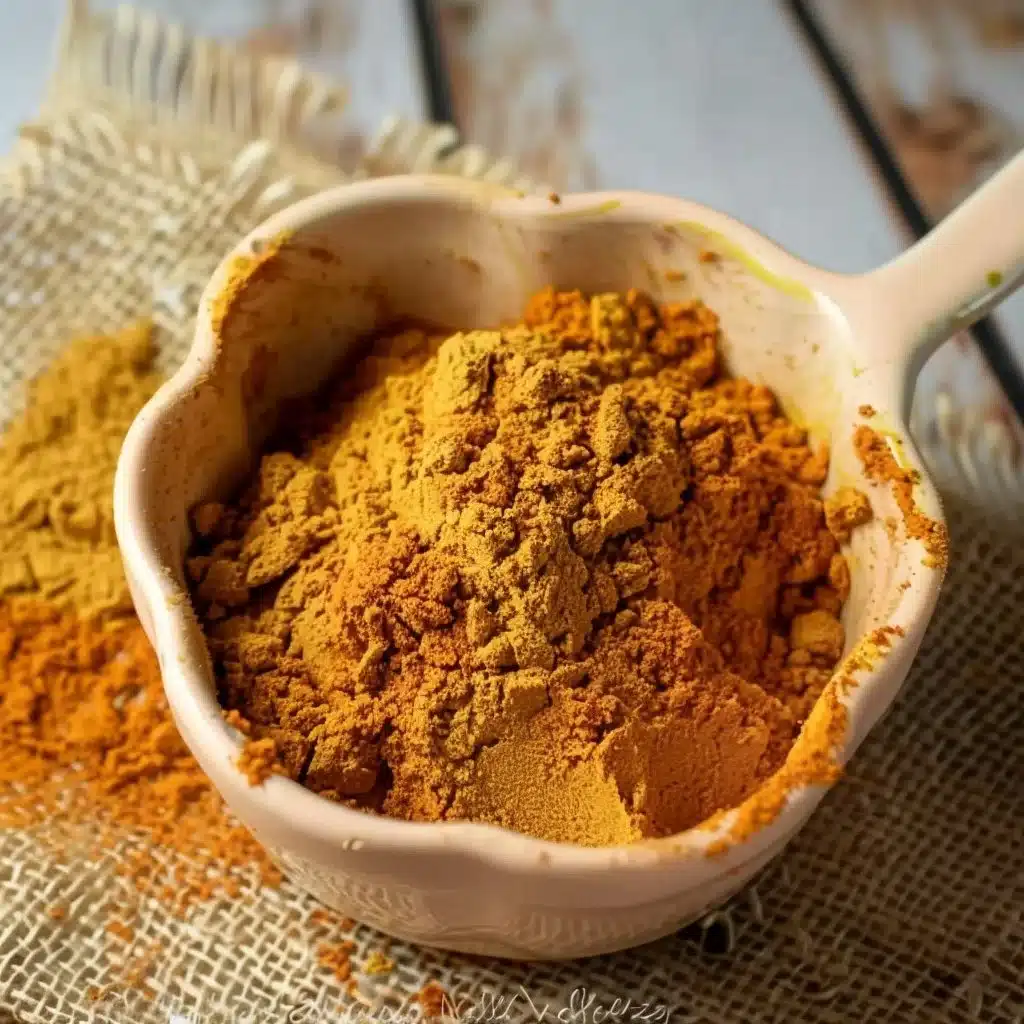
This is where the magic happens. Just a few pulses should turn them into the perfect flour.Store in an airtight container in a cool, dark place.
Good storage ensures freshness for months to come.
Tips for the Best Pumpkin Flour
Choose the Right Pumpkin: Always go for sugar pumpkins; they are sweeter and more flavorful than their carving counterparts. The right choice makes all the difference.
Patience While Dehydrating: Resist the urge to open the dehydrator frequently. Keeping it closed ensures a consistent temperature and dries the pumpkin evenly.
Blend Thoroughly: Ensure your pumpkin is completely dry before blending. If there’s any moisture, it can clump up and not achieve that lovely fine texture.
Store Properly: Use a dark glass container to prolong the life of your flour. Light can degrade the quality over time.
How to Store Leftovers
If you’re lucky enough to have any pumpkin flour left after your baking adventures, store it in an airtight container. Keep it in a cool, dark place like a pantry or cupboard. If you want to prolong its shelf life, consider freezing it instead. Just make sure to thaw it completely before using to retain its texture.
Frequently Asked Questions
How long does it take to prepare this recipe?
The dehydrating phase takes between 6-12 hours, depending on the size of your pumpkin pieces. However, all in all, you can have your fresh flour ready within a day, perfect for those spontaneous baking moments.
Can I use canned pumpkin instead of fresh pumpkin?
Canned pumpkin is a wonderful alternative for recipes calling for pumpkin puree. However, it will not turn into flour. Stick to fresh pumpkin for this particular recipe and save the canned stuff for pies or cakes.
Is this recipe gluten-free?
Absolutely! Since the main ingredient is pumpkin, it is naturally gluten-free. It opens up a new world of possibilities for those with dietary restrictions who still want to enjoy delicious baked goods.
The Bottom Line
Making your own pumpkin flour at home is not just rewarding but it also brings an unbeatable flavor depth to your dishes. The process is simple enough that it could very well become part of your regular culinary routine. This fall, let’s craft comfort food that feels special without breaking a sweat.
Did you make this pumpkin flour? I would love to hear how it went. Drop a comment below, leave a rating, or share a photo with me on social media. Your feedback makes my day and helps me create more recipes you will love.
PrintHomemade Pumpkin Flour
Easily make your own pumpkin flour at home with just fresh pumpkin. Perfect for baking and adds a rich, earthy sweetness to your dishes.
- Prep Time: 15 minutes
- Cook Time: 720 minutes
- Total Time: 735 minutes
- Yield: 2 cups of pumpkin flour
- Category: Baking
- Method: Dehydrating
- Cuisine: American
- Diet: Gluten-Free
Ingredients
- Fresh pumpkin
Instructions
- Begin by washing and cutting your pumpkin into halves, removing the seeds and stringy insides.
- Cut the pumpkin into smaller pieces for easier dehydration.
- Place the pumpkin pieces on a dehydrator tray and set the dehydrator to 125°F (52°C).
- Dehydrate for about 6-12 hours, or until fully dried and crisp.
- Once dried, let the pieces cool and then blend them in a blender or food processor until a fine powder forms.
- Store in an airtight container in a cool, dark place.
Notes
For best results, choose sugar pumpkins as they are sweeter. Ensure the pumpkin is dry before blending for a fine texture.