
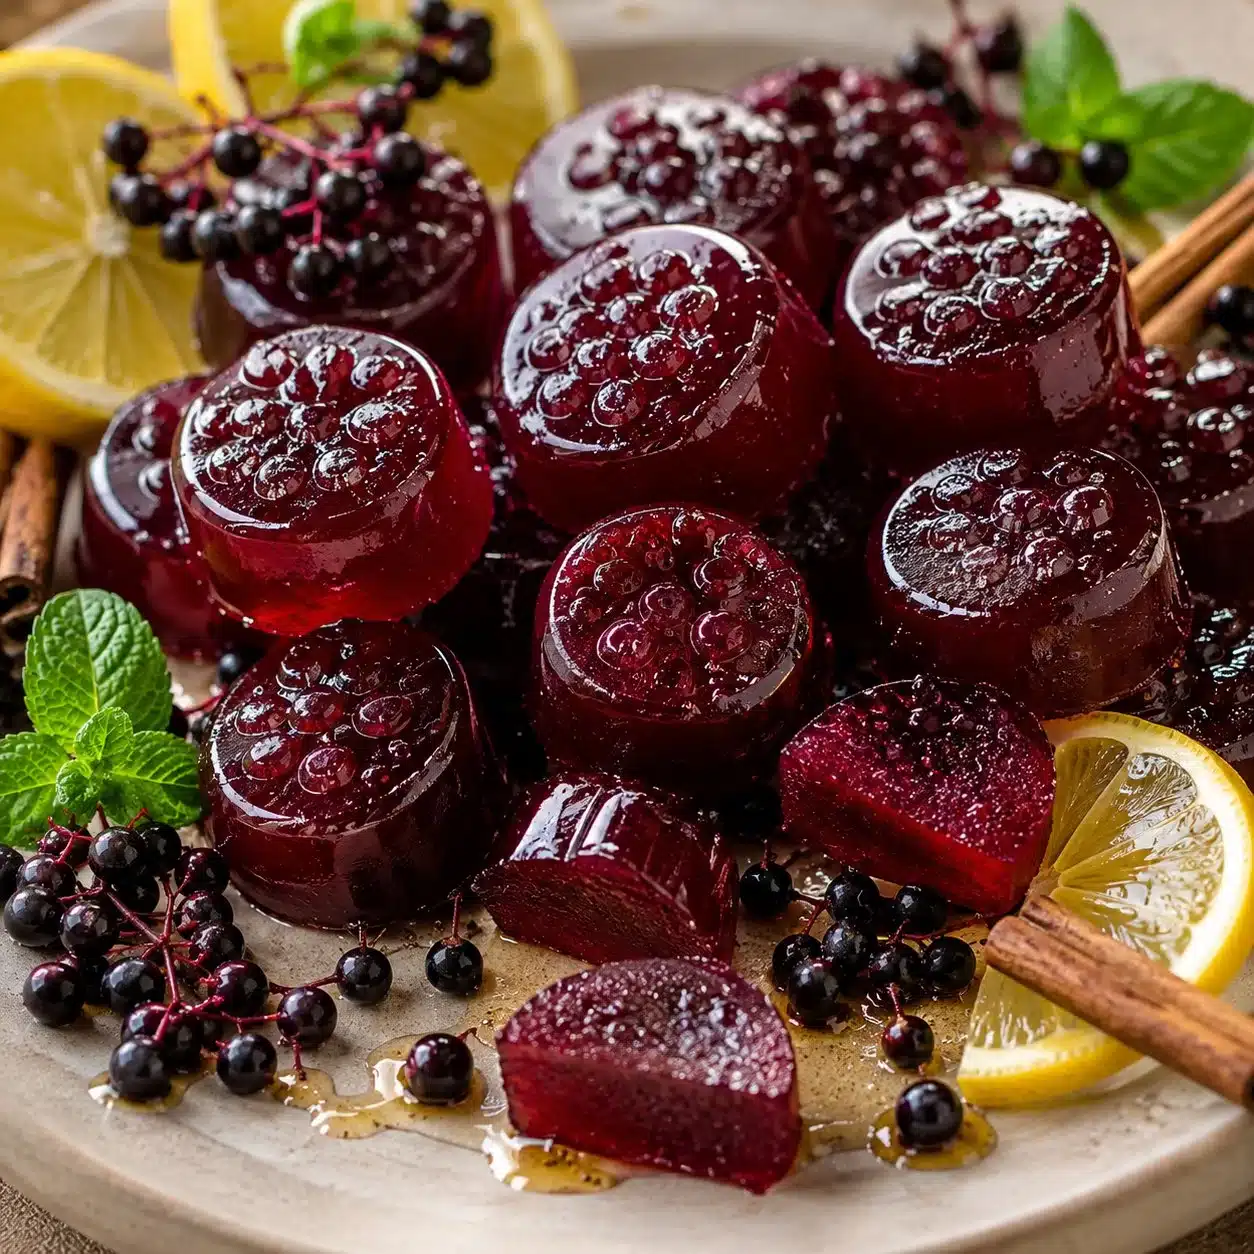
Making homemade elderberry gummies can be a fun and rewarding kitchen project, especially when you’re feeling a little under the weather or simply want to boost your immune system. Remember those chewy, fruity gummies you used to love? Now, imagine making them at home with the added health benefits of elderberries! This easy recipe comes together quickly and is a great activity for a weekend or when the kids are around. Plus, you’ll know exactly what goes into them, making them a delightful treat you can enjoy guilt-free.
Why You’ll Love This
These homemade elderberry gummies are not only simple to make, but they are also packed with immune-boosting properties. The best part? You can customize the flavor using your favorite fruit juice! Perfect for a quick snack or when you want something comforting, these gummies fit into your busy lifestyle and make for a great family-friendly treat. They’re particularly nice for cold and flu season or after a long day at work.
“This recipe turned out even better than I expected. It’s simple, but the flavor is amazing.”
How It Comes Together
Making these elderberry gummies is a straightforward process. You’ll start by blooming gelatin, which helps create that perfect chewy texture. After warming the liquids, you mix everything together and pour it into molds. The waiting period is the toughest part, but you’ll be rewarded with tasty gummies that you can store and enjoy for weeks!
What You’ll Need
- ½ cup (120 ml) elderberry syrup
- ½ cup (120 ml) fruit juice (e.g., pomegranate, tart cherry, grape, or apple)
- 3 tablespoons (about 28 grams) gelatin (grass-fed beef gelatin recommended)
- 2 tablespoons (30 ml) honey (or maple syrup for children under 1 year)
- ¼ cup (60 ml) cold water
Helpful Notes:
- Substitutions: Any fruit juice can work; choose what you like best.
- Quality tips: Use high-quality elderberry syrup for the best health benefits and flavor.
- Ingredient importance: Gelatin is crucial for the gummies’ texture, while elderberry syrup gives them their immune-boosting power.
- Optional add-ins: Consider adding vitamin C powder for an extra health kick!
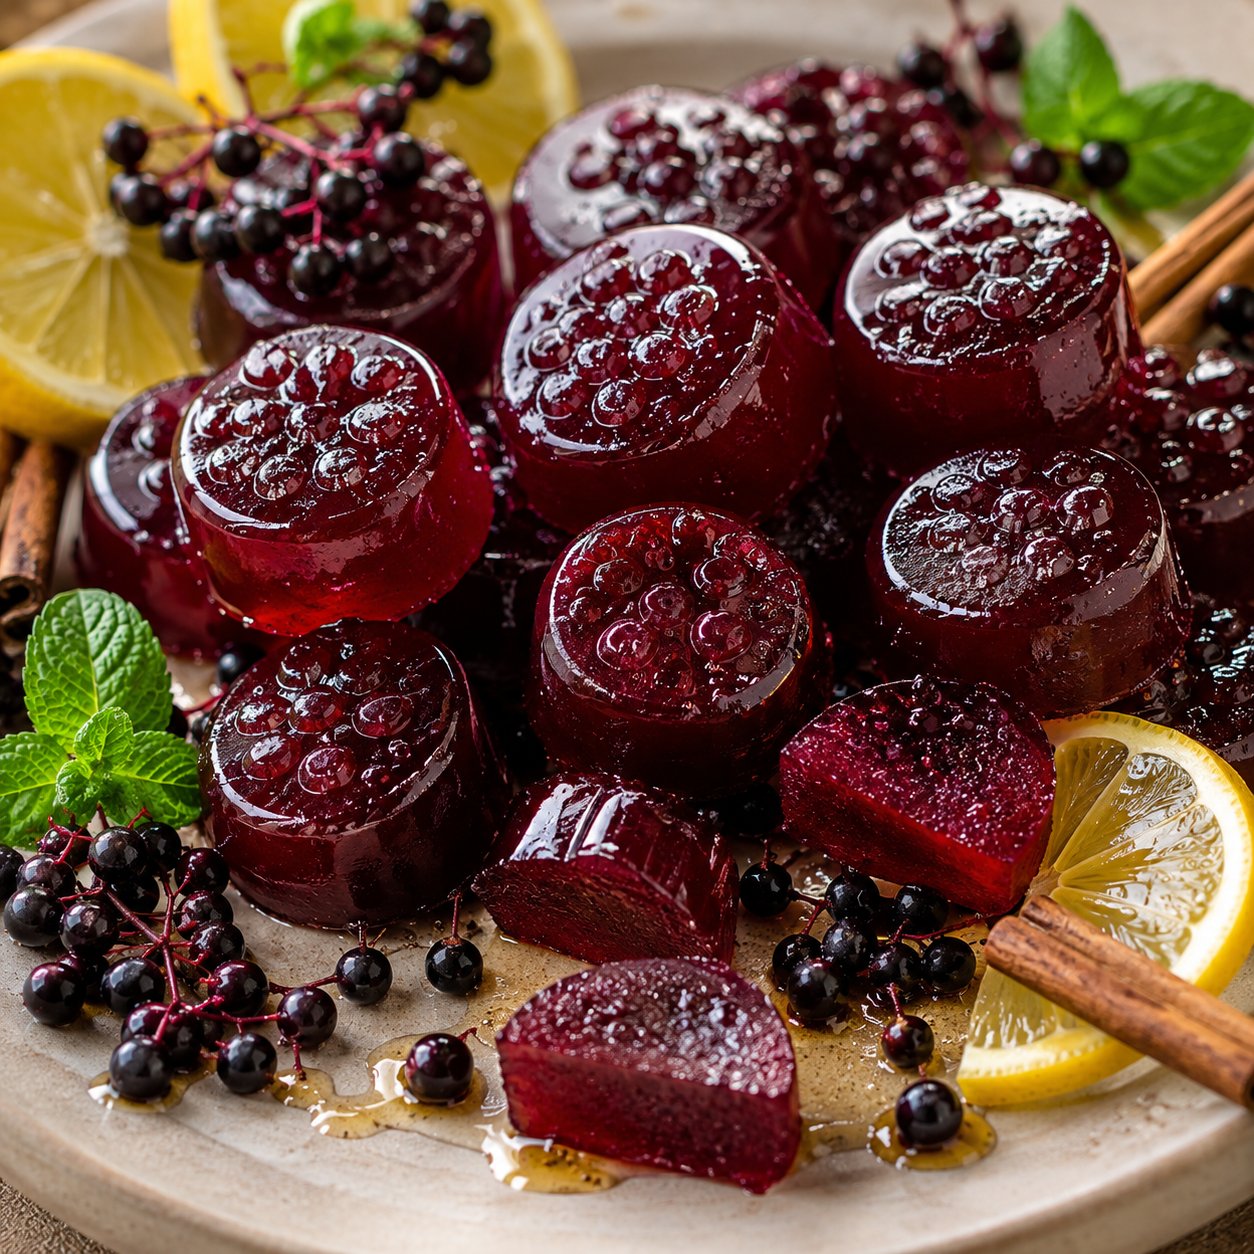
Step-by-Step Instructions
- Bloom the gelatin: In a small bowl, pour the cold water. Sprinkle the gelatin evenly over the top. Let it sit for about 5 minutes until it becomes thick and spongy.
- Heat the liquids: In a small saucepan, combine the elderberry syrup, fruit juice, and honey. Heat over medium-low, stirring occasionally, until warm (about 100-110°F / 38-43°C). Avoid boiling.
- Combine everything: Remove the saucepan from heat. Add the bloomed gelatin to the warm liquid. Whisk gently until completely dissolved (1-2 minutes). Skim off any foam on the surface.
- Fill the molds: Using a dropper or small measuring cup, carefully fill each cavity of silicone gummy molds. Be quick, as the mixture will thicken as it cools.
- Let them set: Place the molds on a flat tray and refrigerate for at least 2 hours, or overnight for the best texture.
- Remove from molds: Gently press the back of each cavity to pop the gummies out. If they stick, place the mold in the freezer for 5 minutes.
- Store properly: Place the gummies in an airtight container, separated by parchment paper. They can be stored in the refrigerator for up to 2-3 weeks.
Best Ways to Enjoy It
These elderberry gummies can be enjoyed on their own as a healthy snack, or you can pair them with other treats. They go great with herbal teas, especially during chilly nights. Serve them at holiday gatherings for a fun and functional treat that everyone will love. Kids will enjoy them after school, and adults can keep them handy for a quick immunity boost!
Keeping It Fresh
- Storage time: These gummies last in the refrigerator for 2-3 weeks.
- Freezing guidance: Freezing is not recommended because it can alter the texture.
- Food safety: Always store gummies in an airtight container to keep them fresh and avoid contamination.
Pro Tips for Best Results
- Avoid overheating the mixture; it may cause the gummies to lose their gelling power.
- For a firmer gummy, increase the amount of gelatin by half a tablespoon.
- If you notice excess foam while mixing, just skim it off to keep your gummies looking clean.
- Make sure to use silicone molds for easy removal; metal molds may cause sticking.
Creative Twists
- Flavor variations: Experiment with different juices like peach or orange to find your favorite combo.
- Dietary swaps: If you need a vegan version, substitute gelatin with agar-agar, adjusting the quantity according to package instructions.
- Ingredient swaps: Try adding a dash of turmeric for an added health benefit and a unique flavor kick.
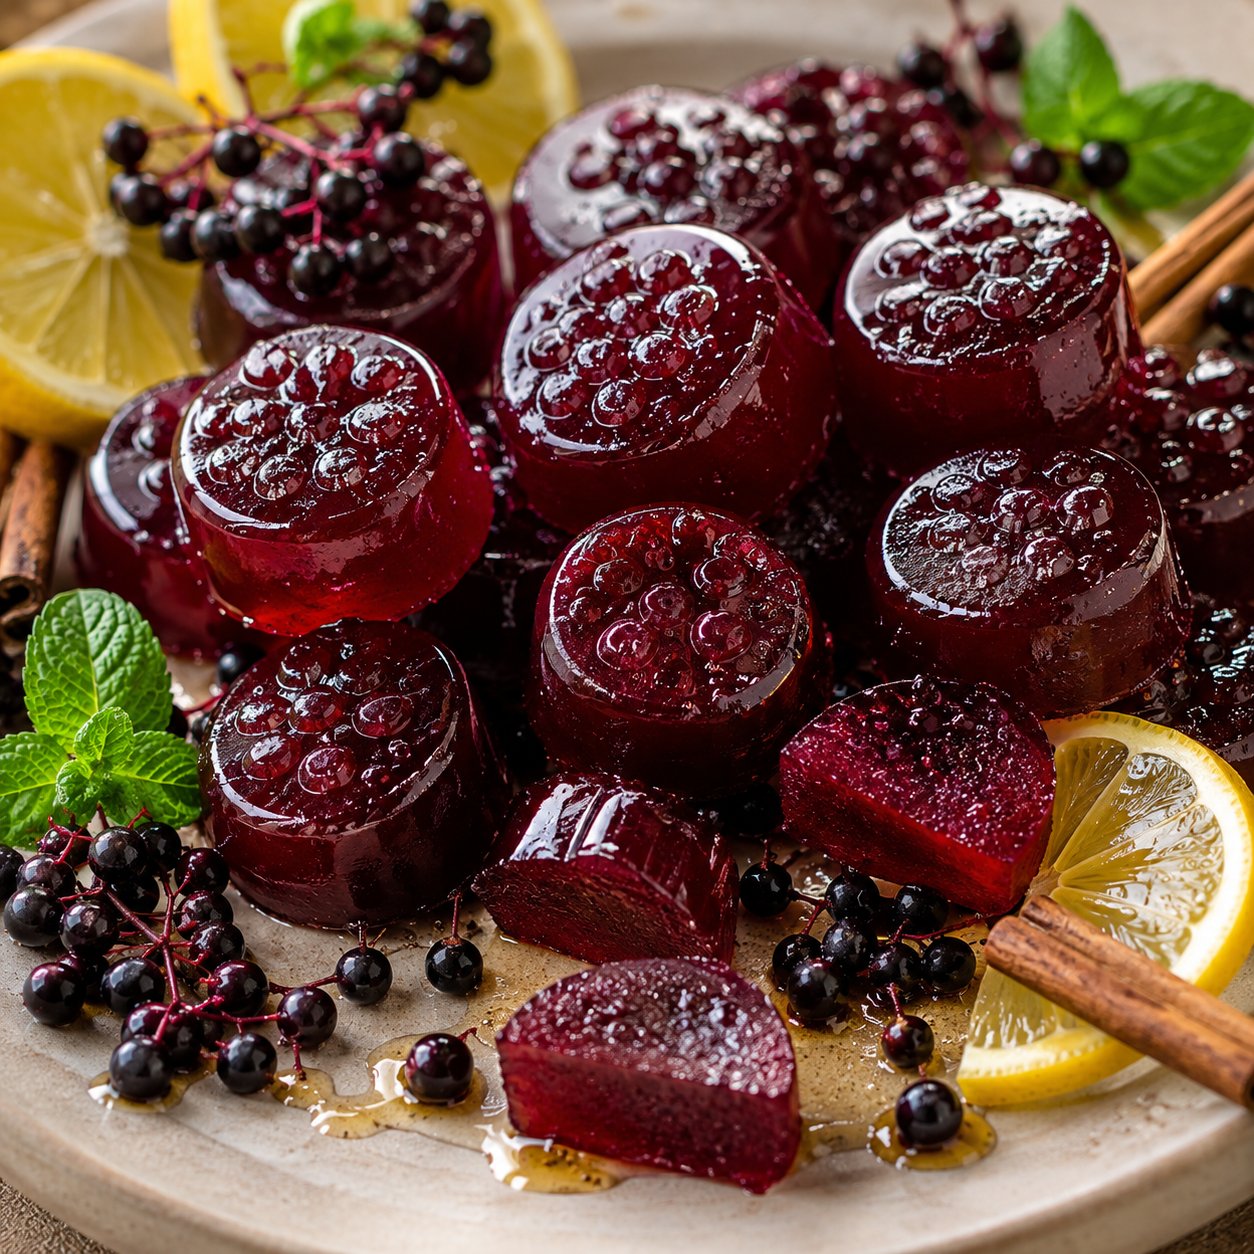
Common Questions
- Can I make it ahead? Yes, these gummies can be made in advance and stored in the refrigerator.
- Can I freeze it? Freezing is not advised as it affects texture and chewiness.
- Can I substitute an ingredient? Absolutely! Just make sure the substitute matches the necessary texture and taste.
- Why did mine turn out dry/wet? If too dry, you may need more gelatin; if too wet, try cooling longer or adding more gelatin.
- How long does it last? Stored properly, they can last for up to 2-3 weeks in the refrigerator.
Final Thoughts
Making homemade elderberry gummies is a rewarding and excellent way to help support your immune system. With easy steps and customizable flavors, these gummies can be a delightful treat for everyone in the family. Give it a try – you might find yourself reaching for these fruity delights often!
PrintHomemade Elderberry Gummies
A fun and rewarding project to make delicious elderberry gummies, packed with immune-boosting properties and customizable flavors.
- Prep Time: 15 minutes
- Cook Time: 10 minutes
- Total Time: 25 minutes
- Yield: 12 servings
- Category: Snacks
- Method: No-Bake
- Cuisine: American
- Diet: Vegan
Ingredients
- ½ cup (120 ml) elderberry syrup
- ½ cup (120 ml) fruit juice (e.g., pomegranate, tart cherry, grape, or apple)
- 3 tablespoons (about 28 grams) gelatin (grass-fed beef gelatin recommended)
- 2 tablespoons (30 ml) honey (or maple syrup for children under 1 year)
- ¼ cup (60 ml) cold water
Instructions
- Bloom the gelatin: In a small bowl, pour the cold water. Sprinkle the gelatin evenly over the top. Let it sit for about 5 minutes until it becomes thick and spongy.
- Heat the liquids: In a small saucepan, combine the elderberry syrup, fruit juice, and honey. Heat over medium-low, stirring occasionally, until warm (about 100-110°F / 38-43°C). Avoid boiling.
- Combine everything: Remove the saucepan from heat. Add the bloomed gelatin to the warm liquid. Whisk gently until completely dissolved (1-2 minutes). Skim off any foam on the surface.
- Fill the molds: Using a dropper or small measuring cup, carefully fill each cavity of silicone gummy molds. Be quick, as the mixture will thicken as it cools.
- Let them set: Place the molds on a flat tray and refrigerate for at least 2 hours, or overnight for the best texture.
- Remove from molds: Gently press the back of each cavity to pop the gummies out. If they stick, place the mold in the freezer for 5 minutes.
- Store properly: Place the gummies in an airtight container, separated by parchment paper. They can be stored in the refrigerator for up to 2-3 weeks.
Notes
For a firmer gummy, increase the amount of gelatin by half a tablespoon. Avoid overheating the mixture to retain gelling power.