
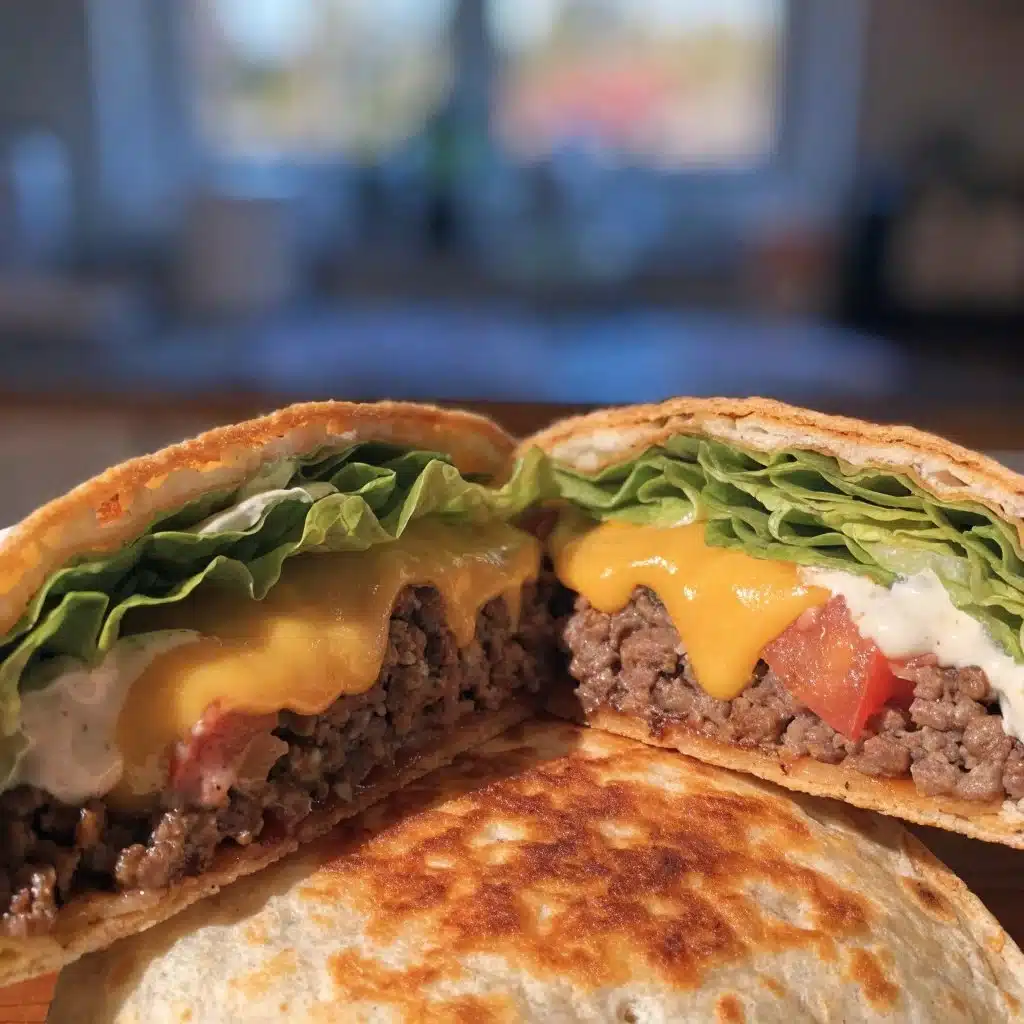
Keto Crunchwraps are the perfect go-to meal for busy weeknights or weekend gatherings. Imagine craving something loaded with flavor that’s still healthy and low in carbs. These wraps are just the ticket! They’re easy to whip up in no time using tortillas and your choice of ground meat, topped with fresh veggies and your favorite sauces.
People usually make keto crunchwraps when they want something delicious yet satisfying without compromising their diet. Plus, they’re great for bringing together the entire family at the dinner table. It’s a fun, customizable recipe you’ll want to add to your regular meal rotation.
What makes this recipe special
Keto Crunchwraps shine for several reasons. They’re quick to prepare, making them an excellent choice for busy parents or anyone short on time. You can create a gourmet meal that’s family-friendly and affordable with ingredients you probably have on hand.
These wraps are also highly customizable, allowing everyone to mix and match their favorite toppings. Perfect for weeknight dinners, hosting friends, or meal prepping for the week ahead, they suit many occasions.
“This recipe turned out even better than I expected. It’s simple, but the flavor is amazing.”
How it comes together
Making keto crunchwraps is straightforward and fun! You’ll first cook the ground meat and spice it up while warming the tortillas. Next, layer all the fresh toppings on one tortilla side, fold it over, and cook until golden and crispy. You can expect a delightful crunch from each bite, with every layer bursting with flavor!
What you’ll need
- Tortillas
- Ground meat (beef, turkey, or chicken)
- Cheese (shredded)
- Leafy greens (lettuce or spinach)
- Tomato (diced)
- Sour cream or Greek yogurt
- Salsa
- Avocado (sliced)
- Spices (like taco seasoning)
- Optional add-ins (beans, corn, or other vegetables)
Helpful Notes:
- Substitutions: You can swap the meat for a plant-based alternative if desired.
- Quality Tips: Use fresh veggies for the best taste and texture.
- Why It Matters: Each ingredient adds flavor and nutrition, making this meal satisfying.
- Optional Add-ins: Consider black beans, corn, or bell peppers for added texture and taste.
Step-by-step instructions
- Brown the ground meat in a skillet. Add taco seasoning for flavor.
- Warm the tortillas in a pan or microwave to make them pliable.
- On one side of the tortilla, layer cheese, cooked meat, leafy greens, diced tomatoes, sliced avocado, sour cream, and salsa.
- Fold the tortilla over the filling to form a wrap.
- Cook on a skillet for a few minutes until golden and crispy on both sides.
- Cut in half and serve with extra salsa or any desired toppings.
Best ways to enjoy it
Serve your keto crunchwraps with a side of fresh salad or some crunchy veggies for dipping. A light salsa or guacamole works well as a topping. These wraps are perfect for casual gatherings or quick weeknight dinners, and everyone can customize their own!
Storage and reheating tips
Store any leftovers in an airtight container in the refrigerator for up to 3 days. You can also freeze the crunchwraps if you don’t want to eat them right away. To reheat, place them in a skillet over medium heat until warmed through and crispy again.
Food Safety Notes:
- Make sure to refrigerate leftovers promptly after cooking.
- Always check for any signs of spoilage before eating.
Helpful cooking tips
- Avoid overcooking the meat to keep it moist.
- Use fresh tortillas for a better wrap and crunch.
- If you want firmer greens, add them last to avoid wilting.
- Pre-chop your favorite toppings for a quicker assembly.
Creative twists
Feel free to switch up the flavors! Try using different spices such as chipotle or Cajun for a spicy kick. You can substitute regular tortillas with low-carb or cauliflower tortillas for a lighter version. Get creative with toppings by adding drizzles of hot sauce, or try various salsas for a unique twist.
Common questions
Can I make it ahead?
Yes, you can prep the filling ahead of time and assemble the wraps just before cooking.
Can I freeze it?
Yes, you can freeze the assembled crunchwraps. Just make sure to wrap them well.
Can I substitute an ingredient?
Absolutely! Use whatever ground meat or toppings you prefer.
Why did mine turn out dry/wet?
If it’s dry, try adding more sauce or yogurt. If it’s wet, ensure the filling doesn’t have excess moisture before wrapping.
How long does it last?
Stored properly, leftovers can last up to three days in the fridge.
Final thoughts
Keto crunchwraps are a flexible and satisfying meal! They’re easy to make and can be tailored to everyone’s taste, making them ideal for any occasion. Give this recipe a try, and feel free to make it your own. You might just find it becoming a favorite in your kitchen!
PrintKeto Crunchwraps

Delicious and satisfying Keto Crunchwraps, perfect for busy weeknights and customizable for every taste.
- Prep Time: 15 minutes
- Cook Time: 15 minutes
- Total Time: 30 minutes
- Yield: 4 servings
- Category: Main Course
- Method: Skillet
- Cuisine: Mexican
- Diet: Keto
Ingredients
- Tortillas
- Ground meat (beef, turkey, or chicken)
- Cheese (shredded)
- Leafy greens (lettuce or spinach)
- Tomato (diced)
- Sour cream or Greek yogurt
- Salsa
- Avocado (sliced)
- Spices (like taco seasoning)
- Optional add-ins (beans, corn, or other vegetables)
Instructions
- Brown the ground meat in a skillet. Add taco seasoning for flavor.
- Warm the tortillas in a pan or microwave to make them pliable.
- On one side of the tortilla, layer cheese, cooked meat, leafy greens, diced tomatoes, sliced avocado, sour cream, and salsa.
- Fold the tortilla over the filling to form a wrap.
- Cook on a skillet for a few minutes until golden and crispy on both sides.
- Cut in half and serve with extra salsa or any desired toppings.
Notes
Use fresh veggies for the best taste and texture. Make sure to refrigerate leftovers promptly after cooking.