
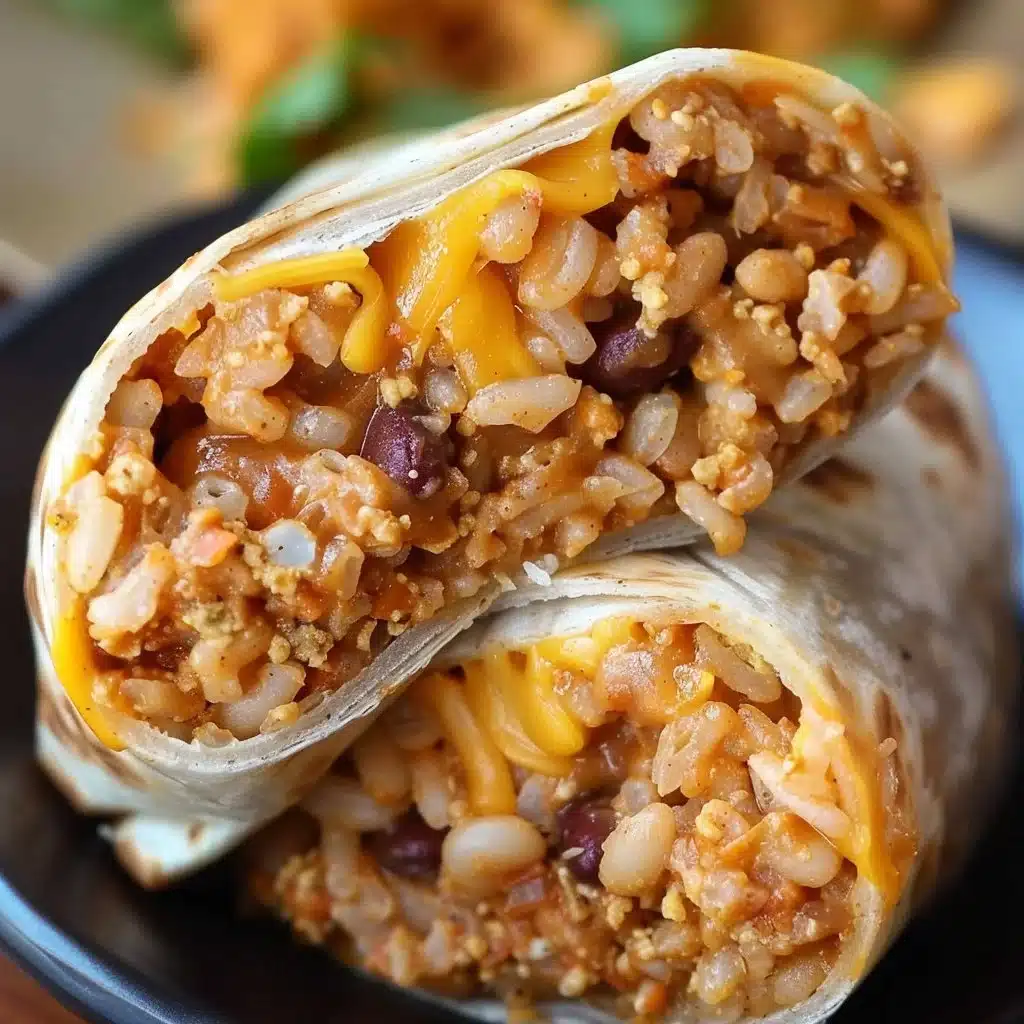
Cheesy Bean and Rice Burrito is a delightful dish that brings together the comforting flavors of refried beans, flavorful Mexican rice, and gooey cheese, all wrapped snugly in a tortilla. Whether you’re craving something quick for dinner on a busy weeknight or a tasty treat for a casual get-together, this burrito is a winner. With its creamy jalapeno sauce and potential toppings like sour cream and salsa, it’s a meal that satisfies every time.
Why You’ll Love This
This Cheesy Bean and Rice Burrito stands out for its simplicity and delicious flavor. It’s easy to make, quick to prepare, and budget-friendly, making it perfect for families or anyone looking for a satisfying meal without spending hours in the kitchen. You can whip it up for a weeknight dinner, enjoy it as a brunch option, or pack it for meal prep.
“This recipe turned out even better than I expected. It’s simple, but the flavor is amazing.”
Step-by-Step Overview
Making your Cheesy Bean and Rice Burrito is simple and straightforward. First, you will cook the Mexican rice, warm the refried beans, and then layer all the ingredients in the tortillas. Drizzle on the creamy jalapeno sauce, roll them up, and they are ready to serve. Expect a warm, cheesy bite that’s packed with flavor!
What You’ll Need
- Refried beans
- Mexican rice
- Cheese (shredded)
- Jalapeno sauce
- Tortillas
- Optional toppings: sour cream, salsa
Helpful Notes:
- Substitutions: You can use black beans instead of refried beans for a different taste.
- Quality Tips: Choose a good quality cheese for the best melting effect.
- Why the Ingredient Matters: Each ingredient adds to the overall creaminess and flavor profile of the burrito.
- Optional Add-ins: Try adding some cooked chicken or veggies for an extra boost.
Step-by-Step Instructions
- Cook the Mexican rice following the package instructions.
- Warm the refried beans on the stove or in the microwave until hot.
- Take a tortilla, and layer in a scoop of warm refried beans.
- Add a scoop of Mexican rice on top of the beans.
- Sprinkle shredded cheese over the rice.
- Drizzle creamy jalapeno sauce on top.
- Roll up the tortilla tightly to form your burrito.
- Serve the burrito immediately, with optional toppings on the side.
Best Ways to Enjoy It
This burrito is delicious on its own, but you can enhance the experience with some side dishes. Try serving it with:
- A fresh green salad
- Crispy tortilla chips
- Guacamole for an extra creamy dip
For garnishes, a sprinkle of chopped cilantro or diced tomatoes adds freshness. You can also serve it at casual get-togethers or as a fun meal for family gatherings.
Storage and Reheating Tips
If you have leftovers, you can store them safely.
- Refrigerator: Keep the burritos in an airtight container for up to 3 days.
- Freezer: You can freeze the burritos. Wrap them well and they can last for about a month.
- Reheating: To reheat, use the microwave for a quick option or warm them in the oven until heated through. Make sure to check that they are heated all the way, especially if frozen.
Helpful Cooking Tips
To ensure your Cheesy Bean and Rice Burrito turns out perfectly every time, consider these tips:
- Common Mistakes: Don’t overfill your burrito; too much filling can make it hard to roll.
- Texture Control: If you want a creamier burrito, add extra cheese or a little sour cream in the layers.
- Flavor Balancing: Adjust the heat by using more or less jalapeno sauce, depending on your preference.
- Time-Saving Shortcuts: Prepare the Mexican rice and refried beans in advance to make assembly quicker.
Creative Twists
Feel free to experiment with your Cheesy Bean and Rice Burrito! Here are a few variations to try:
- Flavor Variations: Add some taco seasoning to the beans for a zestier flavor.
- Dietary Swaps: Use gluten-free tortillas or make a lettuce wrap to cut carbs.
- Regional Spins: Incorporate local favorites like adding chopped green peppers or corn.
- Ingredient Swaps: Instead of cheese, try adding avocado slices for a creamy texture.
Common Questions
Can I make it ahead?
Yes! You can prepare the burritos in advance and store them in the fridge or freezer.
Can I freeze it?
Absolutely. Just wrap them tightly and place them in the freezer.
Can I substitute an ingredient?
Yes, you can use different beans, rice varieties, or even alternative sauces based on your taste.
Why did mine turn out dry/wet?
Make sure you’re not overcooking or undercooking the rice, as this can affect moisture levels.
How long does it last?
In the refrigerator, burritos will last up to 3 days, and in the freezer, they can last a month.
Final Thoughts
Cheesy Bean and Rice Burrito brings joy to any meal. With its simple ingredients and rich flavor, it’s definitely worth a try. Customize it to your taste, and don’t hesitate to save this recipe for your next cooking adventure!
PrintCheesy Bean and Rice Burrito

A delightful dish featuring refried beans, Mexican rice, gooey cheese, and creamy jalapeno sauce, all wrapped in a tortilla.
- Prep Time: 10 minutes
- Cook Time: 15 minutes
- Total Time: 25 minutes
- Yield: 4 servings
- Category: Main Course
- Method: Assembling
- Cuisine: Mexican
- Diet: Vegetarian
Ingredients
- Refried beans
- Mexican rice
- Shredded cheese
- Jalapeno sauce
- Tortillas
- Optional toppings: sour cream, salsa
Instructions
- Cook the Mexican rice following the package instructions.
- Warm the refried beans on the stove or in the microwave until hot.
- Take a tortilla, and layer in a scoop of warm refried beans.
- Add a scoop of Mexican rice on top of the beans.
- Sprinkle shredded cheese over the rice.
- Drizzle creamy jalapeno sauce on top.
- Roll up the tortilla tightly to form your burrito.
- Serve the burrito immediately, with optional toppings on the side.
Notes
This burrito is easy to make and budget-friendly. Great for family meals or meal prep.