

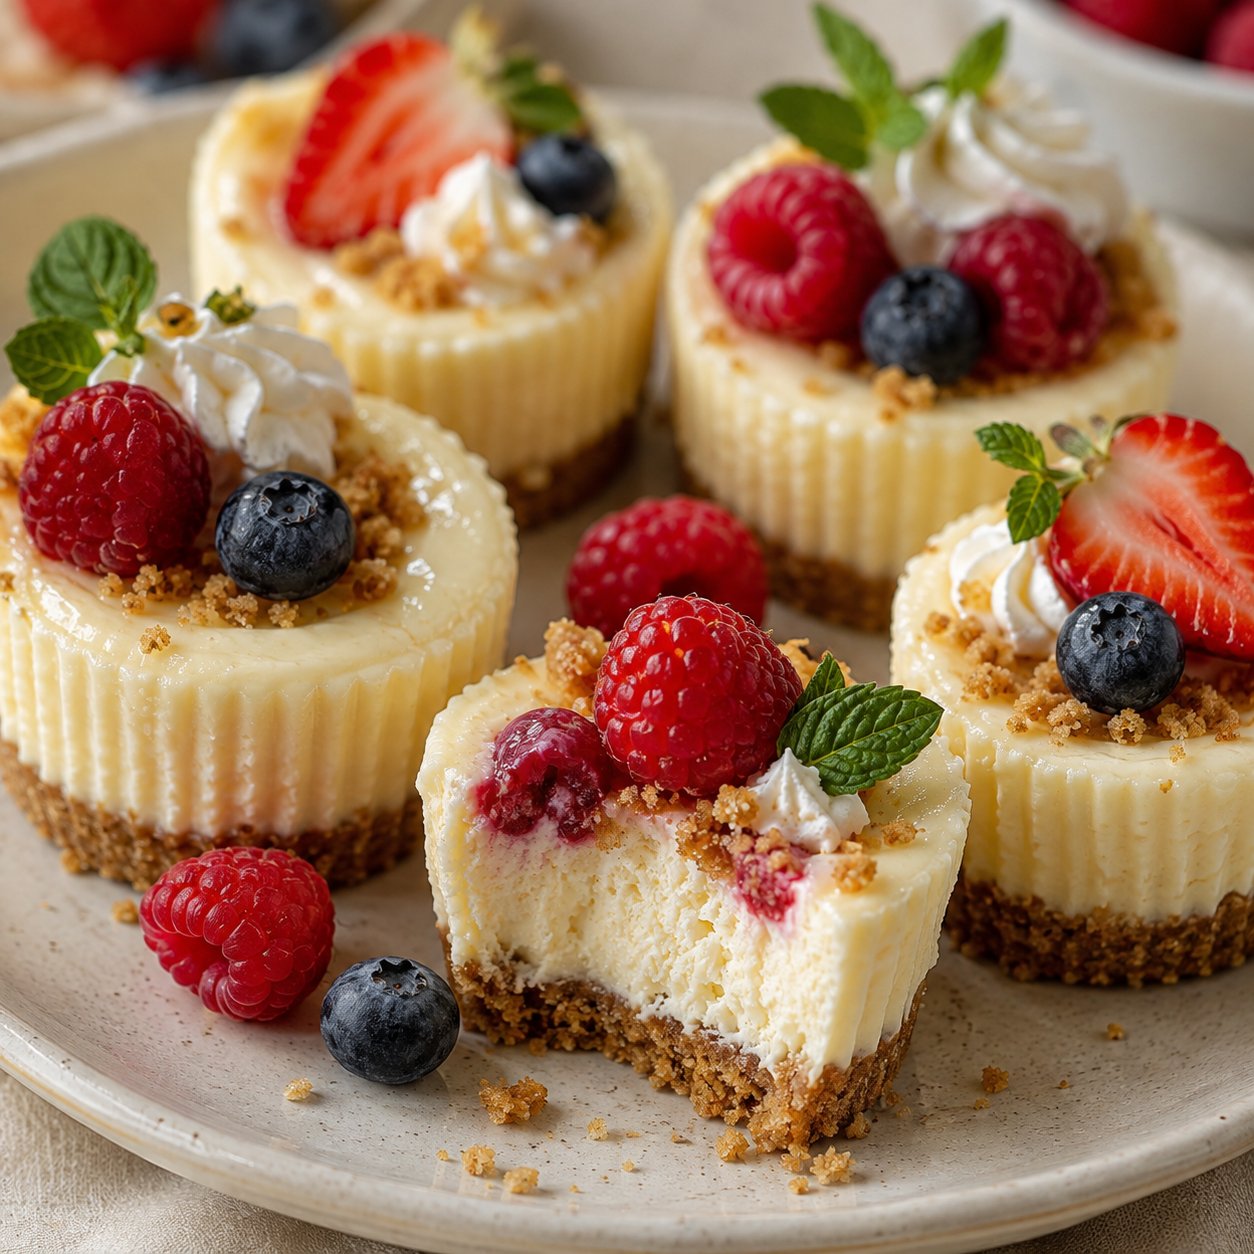
Mini Cheesecake Cups are a delightful treat that can brighten up any occasion. Think of those times when you crave a creamy, sweet dessert but want something small and easy to enjoy. These little cheesecake cups are perfect for parties, family gatherings, or even just a cozy night at home. With their cute size and rich flavor, they’re sure to impress everyone.
Why You’ll Love This
These Mini Cheesecake Cups stand out for many reasons. They’re super easy to make, which is great for busy weeknights or when entertaining guests. The recipe is quick, taking only about 30 minutes to prepare and bake, making it a fantastic option for last-minute dessert cravings. Plus, they’re family-friendly—kids will love them just as much as adults do.
“This recipe turned out even better than I expected. It’s simple, but the flavor is amazing.”
How It Comes Together
Making Mini Cheesecake Cups is a straightforward process. You’ll first create a delicious crust with graham cracker crumbs, then make a rich cheesecake filling. Each cup comes together in mini muffin tins, ensuring everyone gets their own perfect portion. Once baked and cooled, a creamy sour cream topping adds an extra layer of flavor.
Ingredients
Gather these items for a batch of Mini Cheesecake Cups:
- 1 cup graham cracker crumbs
- 1/4 cup sugar
- 1/2 cup unsalted butter, melted
- 8 oz cream cheese, softened
- 1/2 cup sugar
- 1 tsp vanilla extract
- 2 eggs
- 1 cup sour cream
- 1/4 cup sugar
Helpful Notes:
- Substitutions: You can use gluten-free graham crackers for a gluten-free option.
- Quality Tips: Use full-fat cream cheese for the richest flavor and texture.
- Why It Matters: The buttery graham cracker crust perfectly complements the smooth cheesecake filling.
- Optional Add-ins: Try adding fruit toppings or chocolate chips to personalize your mini cheesecakes.
Directions
Follow these simple steps to make your Mini Cheesecake Cups:
- Preheat the oven to 325°F (160°C).
- In a bowl, mix the graham cracker crumbs, 1/4 cup sugar, and melted butter until combined. Press the mixture into the bottom of mini muffin tins to form the crust.
- In another bowl, beat the cream cheese until smooth. Add 1/2 cup sugar and vanilla extract, mixing well.
- Add the eggs one at a time, mixing until just combined.
- Pour the cheesecake filling into the crusts, filling each about 2/3 full.
- Bake for 15-20 minutes until set.
- Allow to cool, then top with sour cream mixed with 1/4 cup sugar.
- Chill in the refrigerator before serving.
Best Ways to Enjoy It
These Mini Cheesecake Cups are a treat on their own, but you can enhance them in many ways. Consider pairing them with fresh fruit like strawberries or blueberries for a pop of color and flavor. You could also add whipped cream on top for extra indulgence. They’re perfect for birthday parties, holiday gatherings, or an afternoon treat with coffee.
Storage and Reheating Tips
To keep your Mini Cheesecake Cups fresh, store them in the refrigerator in an airtight container. They will stay good for about 4-5 days. If you need to store them longer, you can freeze them for up to one month. Just make sure to separate them with parchment paper to prevent sticking. Reheating is not recommended; they’re best enjoyed chilled directly from the fridge.
Helpful Cooking Tips
For the best results, keep these tips in mind:
- Common Mistakes to Avoid: Make sure your cream cheese is fully softened to prevent lumps in your filling.
- Texture Control Advice: Don’t overmix once you add the eggs to keep the filling light and fluffy.
- Flavor Balancing Tips: Taste your sour cream mixture before topping—it can be sweetened to your preference.
- Time-Saving Shortcuts: Prep the crust and filling ahead of time and assemble just before baking.
Creative Twists
Feel free to experiment with flavors! Here are some fun variations:
- Fruit Flavors: Add zest from a lemon or orange, or mix in fruit purees for a fruity twist.
- Chocolate Variation: Mix in melted chocolate to the cream cheese for a chocolate cheesecake version.
- Dietary Swaps: Use low-fat cream cheese and Greek yogurt in the filling for a lighter option.

Common Questions
Can I make it ahead?
Yes, these Mini Cheesecake Cups can be made a day in advance. Just store them in the refrigerator until you’re ready to serve.
Can I freeze it?
Absolutely! Just freeze them before topping with sour cream. Wrap them well to prevent freezer burn.
Can I substitute an ingredient?
Yes, feel free to use flavored cream cheese or different types of sweeteners based on your dietary needs.
Why did mine turn out dry/wet?
Overbaking can cause dryness, while underbaking can leave them wet. Check for doneness after 15 minutes.
How long does it last?
They stay fresh in the refrigerator for about 4-5 days.
Final Thoughts
Mini Cheesecake Cups are a delightful dessert that’s worth making, whether for a special event or a cozy night in. They are easy to customize, fun to eat, and sure to please any crowd. Give this recipe a try, and enjoy these creamy, sweet treats!
PrintMini Cheesecake Cups

Delightful mini cheesecake cups that are easy to make and perfect for any occasion.
- Prep Time: 15 minutes
- Cook Time: 20 minutes
- Total Time: 35 minutes
- Yield: 12 servings
- Category: Dessert
- Method: Baking
- Cuisine: American
- Diet: Vegetarian
Ingredients
- 1 cup graham cracker crumbs
- 1/4 cup sugar
- 1/2 cup unsalted butter, melted
- 8 oz cream cheese, softened
- 1/2 cup sugar
- 1 tsp vanilla extract
- 2 eggs
- 1 cup sour cream
- 1/4 cup sugar
Instructions
- Preheat the oven to 325°F (160°C).
- Mix the graham cracker crumbs, 1/4 cup sugar, and melted butter until combined. Press the mixture into the bottom of mini muffin tins to form the crust.
- Beat the cream cheese until smooth. Add 1/2 cup sugar and vanilla extract, mixing well.
- Add the eggs one at a time, mixing until just combined.
- Pour the cheesecake filling into the crusts, filling each about 2/3 full.
- Bake for 15-20 minutes until set.
- Allow to cool, then top with sour cream mixed with 1/4 cup sugar.
- Chill in the refrigerator before serving.
Notes
Store in the refrigerator for up to 4-5 days, or freeze for up to one month before topping with sour cream.