
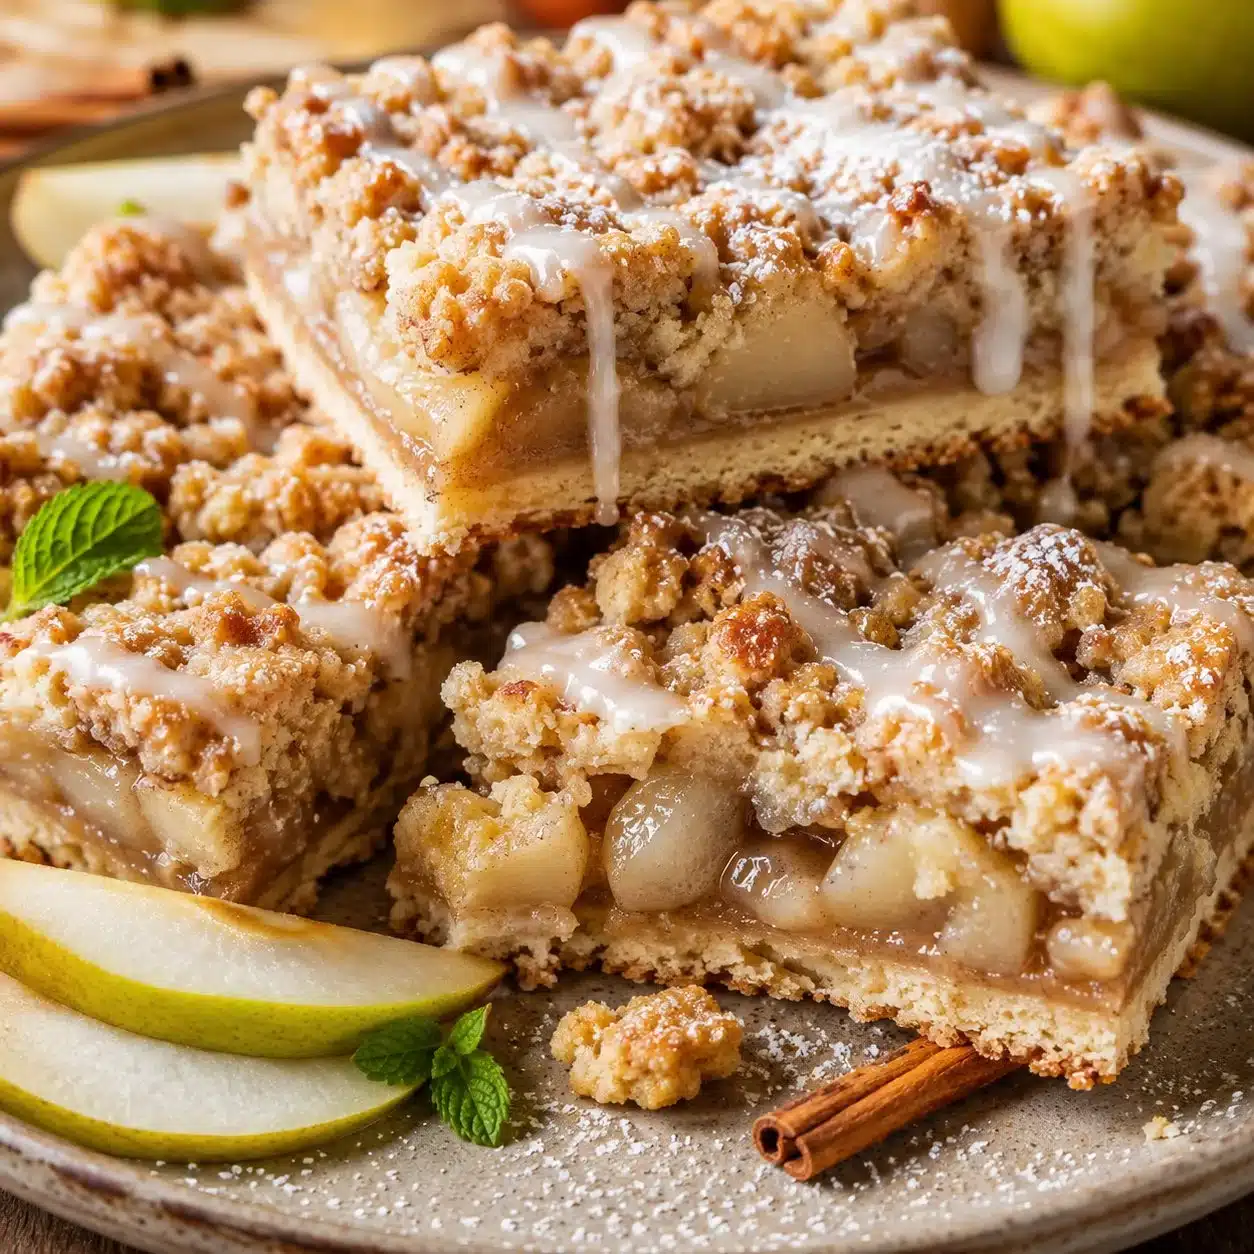
There’s something special about the sweetness and warmth of baked desserts, especially when they include fresh fruit. When the craving strikes for something easy and delightful, these pear bars hit the spot just right. They make a perfect treat for any occasion, from family gatherings to casual weeknight desserts. Not only are they simple to whip up, but their rich flavor and soft texture make them a must-try.
Why You’ll Love This
These pear bars are not only easy to make, but they’re also quick to bake up, making them perfect for busy families or last-minute guests. The blend of sweet pears with sugars creates a scrumptious dessert that everyone will enjoy. Plus, they are family-friendly, requiring no special skills—just a little mixing.
“This recipe turned out even better than I expected. It’s simple, but the flavor is amazing.”
How It Comes Together
Making these pear bars is straightforward and takes minimal time. You start by mixing your wet ingredients with the chopped pears, then blend in your dry ingredients. Finally, pour everything into a baking pan, and let the oven do the rest. You’ll be savoring delicious, warm dessert in no time!
Ingredients
Gather these items:
- 4 ripe pears, peeled and chopped
- 1 cup granulated sugar
- ½ cup brown sugar
- ½ cup unsalted butter, melted
- 2 large eggs
- 1 teaspoon vanilla extract
- 1 ½ cups all-purpose flour
- 1 teaspoon baking powder
- ½ teaspoon salt
Quick notes:
- If you don’t have pears, apples can be used for a different flavor.
- Ensure your pears are ripe for optimal sweetness and moisture.
- You can add nuts or chocolate chips for a delicious twist!
Directions to Follow
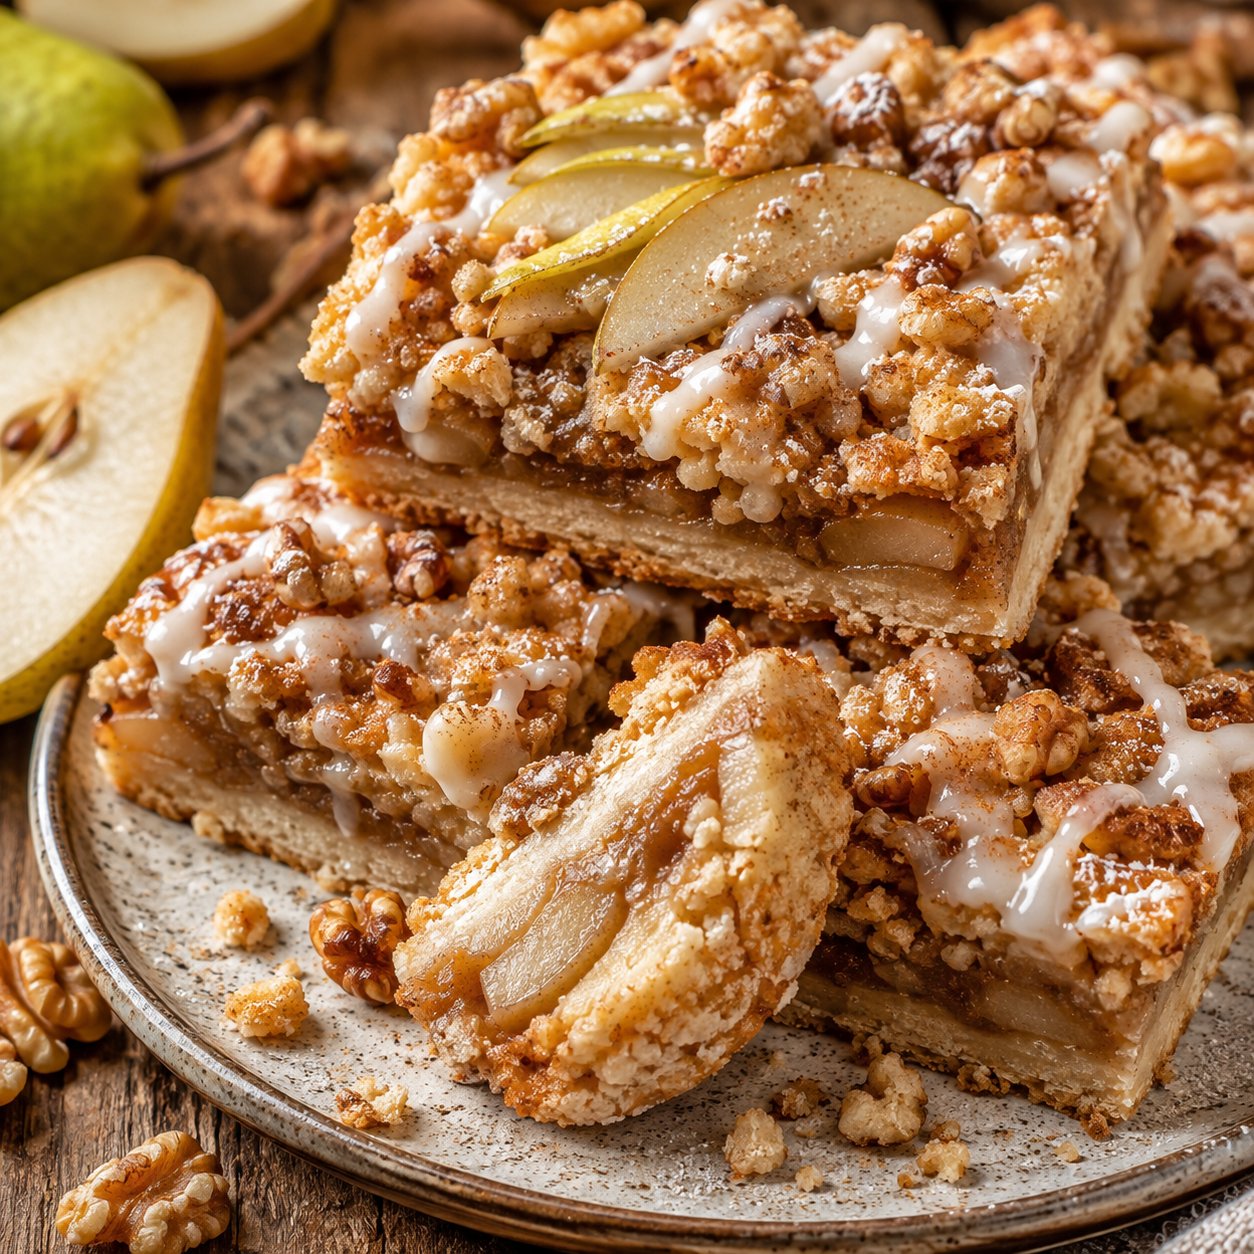
- Preheat your oven to 350°F (175°C) and grease a 9×13 inch baking pan.
- In a large mixing bowl, combine the chopped pears, granulated sugar, brown sugar, and melted butter.
- Add in the eggs and vanilla extract, mixing until everything is well incorporated.
- In another bowl, whisk together the flour, baking powder, and salt.
- Gradually mix the dry ingredients into the wet mixture until just combined.
- Pour the batter into the prepared baking pan and spread it evenly.
- Bake for about 30 minutes or until a toothpick inserted into the center comes out clean.
- Allow the bars to cool before cutting into squares and serving.
Best Ways to Enjoy It
These pear bars stand out on their own, but you can elevate them even more. Consider pairing them with:
- A scoop of vanilla ice cream or whipped cream for a decadent treat.
- A sprinkle of cinnamon or powdered sugar on top for added flavor and presentation.
- A side of fresh fruit or a simple salad to balance out the sweetness.
Perfect for gatherings, potlucks, or just a cozy night at home!
Storage Tips
Keeping these pear bars fresh can be simple:
- Store leftover bars in an airtight container at room temperature for up to 3 days.
- If you need to keep them longer, they can be frozen for up to 3 months. Just wrap them in plastic wrap and place them in a freezer-safe container.
- When ready to eat, thaw at room temperature or warm them slightly in the oven.
Helpful Tips
To get the most out of your pear bars, keep these tips in mind:
- Avoid overmixing the batter; it should be combined but not overly smooth for the best texture.
- Check for doneness a bit early since ovens vary. Look for a golden top and a clean toothpick.
- If your bars turn out dry, ensure your pears are juicy, as they contribute to the overall moisture.
Creative Twists
Feel free to customize your pear bars with these easy variations:
- Swap pears for apples or peaches to change up the flavor.
- Add nuts like walnuts or pecans for extra crunch.
- Incorporate spices like nutmeg or ginger for a warmer aroma.
- For a gluten-free option, substitute all-purpose flour with a 1:1 gluten-free blend.
Common Questions
Can I make it ahead?
Yes, you can prepare the batter a few hours in advance and bake it later.
Can I freeze it?
Absolutely! Freeze the bars after baking and cooling for future enjoyment.
Can I substitute an ingredient?
Sure! For example, you can use coconut oil instead of butter for a dairy-free version.
Why did mine turn out dry?
This could be due to overbaking or using pears that aren’t ripe enough for moisture.
How long does it last?
Stored properly in an airtight container, they last about 3 days at room temperature or 3 months in the freezer.
Final Thoughts
These pear bars are a delightful treat that’s worth making. Their simple ingredients combine into a flavor-filled dessert, perfect for any occasion. Try them out, tweak them to your taste, and enjoy! Happy baking!
PrintPear Bars
Deliciously sweet and warm pear bars that are easy to make and perfect for any occasion.
- Prep Time: 15 minutes
- Cook Time: 30 minutes
- Total Time: 45 minutes
- Yield: 12 servings
- Category: Dessert
- Method: Baking
- Cuisine: American
- Diet: Vegetarian
Ingredients
- 4 ripe pears, peeled and chopped
- 1 cup granulated sugar
- ½ cup brown sugar
- ½ cup unsalted butter, melted
- 2 large eggs
- 1 teaspoon vanilla extract
- 1 ½ cups all-purpose flour
- 1 teaspoon baking powder
- ½ teaspoon salt
Instructions
- Preheat your oven to 350°F (175°C) and grease a 9×13 inch baking pan.
- Combine the chopped pears, granulated sugar, brown sugar, and melted butter in a large mixing bowl.
- Add in the eggs and vanilla extract, mixing until everything is well incorporated.
- Whisk together the flour, baking powder, and salt in another bowl.
- Gradually mix the dry ingredients into the wet mixture until just combined.
- Pour the batter into the prepared baking pan and spread it evenly.
- Bake for about 30 minutes or until a toothpick inserted into the center comes out clean.
- Allow the bars to cool before cutting into squares and serving.
Notes
Feel free to customize with nuts, chocolate chips, or substitute pears with apples for a different flavor.