
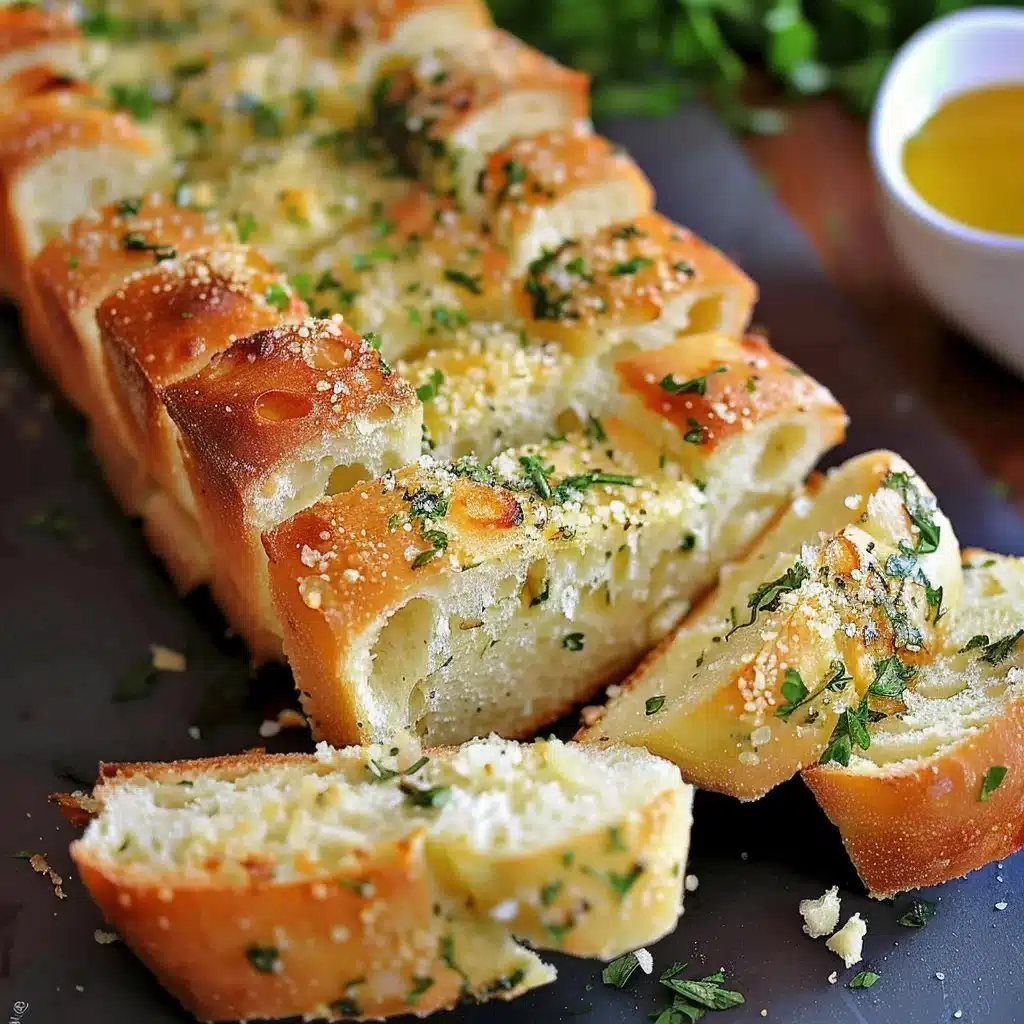
Garlic Bread is a timeless classic that brings warmth and comfort to any meal. Whether it’s a simple weeknight dinner or a festive gathering, there’s something special about the aroma of garlic butter wafting through the kitchen. Picture this: a cool evening, friends gathered around the table, laughter filling the air, and the irresistible crunch of freshly baked garlic bread that everyone can’t wait to enjoy. This recipe is worth trying because it’s easy, quick, and a guaranteed crowd-pleaser.
Why This One Works So Well
There are many reasons to whip up this delicious Garlic Bread at home. First, it’s incredibly simple and quick to prepare. You’re looking at about 20 minutes from start to finish! It’s perfect for any occasion, whether you’re feeding a busy family, hosting a party, or just craving a tasty snack. This recipe is great for everyone, including beginners who might be just starting their cooking journey.
“This recipe turned out even better than I expected. It’s simple, but the flavor is amazing.”
How It Comes Together
Making Garlic Bread is a straightforward process! You’ll start by creating a flavorful garlic butter mixture, then slather it onto a loaf of French bread. After that, a few minutes in the oven will transform your mixture into a golden, crispy treat that’s perfect for sharing. Get ready to enjoy warm, toasty goodness.
What You’ll Need
To make this delicious Garlic Bread, gather these items:
- 1 loaf of French bread
- 4 cloves of garlic, minced
- 1/2 cup unsalted butter, softened
- 2 tablespoons fresh parsley, chopped
- 1/4 teaspoon salt
- 1/4 teaspoon black pepper
- 1/4 cup grated Parmesan cheese (optional)
Helpful Notes
- Substitutions: You can use garlic powder instead of fresh garlic, but fresh offers the best flavor.
- Quality Tips: Try to use fresh parsley for a vibrant taste.
- Why Ingredients Matter: The butter should be soft to ensure even spreading.
- Optional Add-ins: Feel free to add a pinch of red pepper flakes for a spicy kick.
Step-by-Step Instructions
- Preheat your oven to 375°F (190°C).
- In a bowl, mix the softened butter, minced garlic, chopped parsley, salt, and black pepper until it’s well combined.
- Slice the French bread in half lengthwise.
- Spread the garlic butter mixture evenly on both halves of the bread.
- If you like, sprinkle Parmesan cheese on top for extra flavor.
- Place the bread halves on a baking sheet and bake for 10-15 minutes until the edges are golden brown.
- Remove from the oven, let it cool slightly, then slice and serve warm.
Best Ways to Enjoy It
Garlic Bread pairs beautifully with a variety of dishes. Enjoy it alongside a hearty pasta dish, such as spaghetti or lasagna, or serve it with a fresh garden salad. You could even use it to soak up the sauce from a delicious stew. For garnish, sprinkle some more fresh parsley or a dash of chili flakes for extra flair.
Storage and Reheating Tips
To keep your leftover Garlic Bread fresh:
- Refrigerator Storage: Store in an airtight container for 2-3 days.
- Freezer Guidance: You can freeze it for up to a month. Wrap it tightly in foil or plastic wrap.
- Reheating Method: Reheat in the oven at 350°F (175°C) for about 5-10 minutes.
- Food Safety Notes: Always cool completely before freezing.
Helpful Cooking Tips
To ensure your Garlic Bread turns out perfectly every time, here are a few tips:
- Common Mistakes: Avoid using cold butter; it won’t spread well.
- Texture Control: For a crunchier texture, toast under the broiler for the last minute.
- Flavor Balancing: Adjust garlic to your taste. Feel free to add more or less depending on your preference!
- Time-Saving Shortcuts: Make the garlic butter ahead of time and store it in the fridge.
Creative Twists
Try these delicious variations of Garlic Bread:
- Flavor Variations: Add some Italian herbs like oregano or basil for a different touch.
- Dietary Swaps: Use vegan butter for a dairy-free version.
- Regional Spins: Incorporate some sun-dried tomatoes or olives for a Mediterranean twist.
- Ingredient Swaps: Whole grain or sourdough bread can offer a unique flavor profile.
Common Questions
Can I make it ahead? Yes, you can prepare the garlic butter in advance and keep it in the fridge for a couple of days.
Can I freeze it? Absolutely! Just wrap your Garlic Bread well before freezing.
Can I substitute an ingredient? Yes, garlic powder can stand in for fresh garlic, and different types of bread can work too.
Why did mine turn out dry? This usually happens if the butter isn’t spread evenly or the bread is overcooked.
How long does it last? Garlic Bread lasts about 2-3 days in the fridge or up to a month in the freezer.
Final Thoughts
This Garlic Bread is a delicious and easy recipe that everyone should try. With its perfect blend of flavors and crispy texture, it’s an ideal addition to any meal. Give it a go and feel free to customize it to suit your tastes! Don’t forget to save this one for your next family dinner or gathering.
PrintGarlic Bread

A timeless classic, this Garlic Bread offers a combination of crispy texture and rich garlic flavor, perfect for any meal.
- Prep Time: 10 minutes
- Cook Time: 15 minutes
- Total Time: 25 minutes
- Yield: 4 servings
- Category: Appetizer
- Method: Baking
- Cuisine: Italian
- Diet: Vegetarian
Ingredients
- 1 loaf of French bread
- 4 cloves of garlic, minced
- 1/2 cup unsalted butter, softened
- 2 tablespoons fresh parsley, chopped
- 1/4 teaspoon salt
- 1/4 teaspoon black pepper
- 1/4 cup grated Parmesan cheese (optional)
Instructions
- Preheat your oven to 375°F (190°C).
- Mix the softened butter, minced garlic, chopped parsley, salt, and black pepper until it’s well combined.
- Slice the French bread in half lengthwise.
- Spread the garlic butter mixture evenly on both halves of the bread.
- If you like, sprinkle Parmesan cheese on top for extra flavor.
- Place the bread halves on a baking sheet and bake for 10-15 minutes until the edges are golden brown.
- Remove from the oven, let it cool slightly, then slice and serve warm.
Notes
For a crunchier texture, toast under the broiler for the last minute. You can make the garlic butter ahead of time and store it in the fridge.