
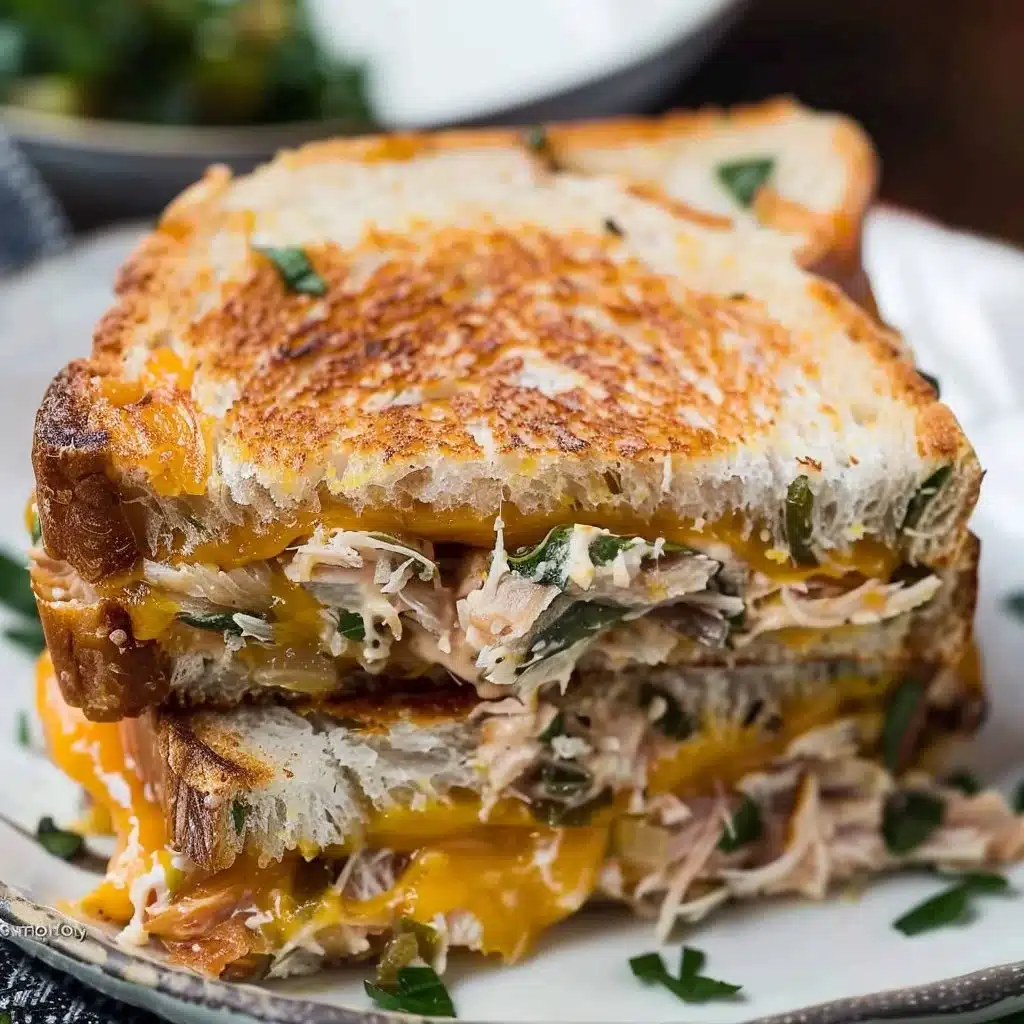
Cheesy Tuna Melt is one of those comforting meals that can bring back fond memories of home-cooked dinners. Whether you’re battling a late-night craving or needing a quick lunch, this dish hits the spot every time. Creamy tuna mixed with melty cheese, all encased in crispy, buttery bread – what’s not to love? Perfect for busy weeknights or cozy weekends, this recipe is a must-try for anyone who enjoys delicious, simple food.
Why Make This Recipe
You’ll love this Cheesy Tuna Melt because it’s super easy to whip up! With just a handful of ingredients, you can make a satisfying meal in no time. It’s perfect for any time of day and works wonders for weeknight dinners, quick lunches, or a laid-back brunch with friends. This recipe is especially great for beginners or anyone short on time.
“This recipe turned out even better than I expected. It’s simple, but the flavor is amazing.”
How to Make Cheesy Tuna Melt
Making a Cheesy Tuna Melt is simple and enjoyable! Start by prepping your ingredients, and then mix your tuna with cheese and other goodies. After that, it’s all about grilling to golden perfection. You can expect a warm, comforting meal ready in just a few steps.
Ingredients
Gather these items:
- Canned tuna
- Mayonnaise
- Cheese (cheddar or American)
- Bread (your choice)
- Onions (optional)
- Celery (optional)
- Salt and pepper to taste
- Butter
Helpful Notes:
- Substitutions: You can use Greek yogurt instead of mayonnaise for a lighter option.
- Quality Tips: Use good quality tuna for the best flavor. Look for chunk light or albacore.
- Why the Ingredient Matters: Fresh bread and cheese can make a big difference in taste.
- Optional Add-ins: Consider adding diced pickles or mustard for extra flavor.
Directions
Here’s how to make your Cheesy Tuna Melt:
- Heat a skillet over medium heat.
- In a bowl, mix together the canned tuna, mayonnaise, cheese, and any optional ingredients like onions or celery. Season with salt and pepper.
- Spread butter on the outside of the bread slices.
- Place one slice in the skillet, add the tuna mixture on top, then cover with another slice of bread.
- Cook until golden brown, then flip and cook the other side.
- Remove from skillet, slice, and enjoy!
Best Ways to Enjoy It
Enjoy your Cheesy Tuna Melt with some tasty sides! Here are a few suggestions:
- Serve with a fresh salad for a light meal.
- A side of crispy potato chips or fries adds a nice crunch.
- Pickles pair wonderfully to cut through the richness.
- This dish works well for a cozy lunch or dinner gathering with friends.
Storage Tips
To keep your Cheesy Tuna Melt delicious for later, follow these tips:
- Refrigerator Storage Time: Store leftovers in an airtight container for up to 2 days.
- Freezer Guidance: It’s best not to freeze assembled sandwiches due to the bread’s texture. Instead, store the tuna mixture for up to 3 months.
- Reheating Method: Reheat in a skillet on low until warmed through.
- Food Safety Notes: Always ensure your canned tuna is fresh and check expiration dates.
Helpful Tips
Here are some pro tips for making the best Cheesy Tuna Melt:
- Avoid overmixing the tuna mixture to keep it from becoming mushy.
- For extra crispy bread, use medium heat and ensure enough butter is on the slices.
- If the cheese isn’t melting well, cover the skillet with a lid for a minute.
- Save time by prepping tuna salad the night before.
Creative Twists
Let’s explore some exciting variations of the classic Cheesy Tuna Melt:
- Flavor Variations: Add a splash of hot sauce for a kick!
- Dietary Swaps: Use gluten-free bread if you have dietary restrictions.
- Regional Spins: Try adding herbs like dill for a fresh twist.
- Ingredient Swaps: Replace tuna with shredded chicken or beans for a different protein.
Common Questions
Here are answers to some frequently asked questions:
- Can I make it ahead? Yes, you can prepare the tuna mixture ahead of time and assemble before cooking.
- Can I freeze it? It’s best not to freeze the cooked sandwiches, but the filling can be frozen.
- Can I substitute an ingredient? Yes, feel free to swap tuna for other proteins or mayonnaise for Greek yogurt.
- Why did mine turn out dry/wet? Dryness might come from overcooking; wetness could be too much mayo or not draining tuna well.
- How long does it last? Refrigerated, leftovers last about 2 days.
Final Thoughts
This Cheesy Tuna Melt is a delightful way to enjoy a simple yet satisfying meal. With its warm, cheesy goodness, it’s great for any occasion and easy enough for anyone to make. Give it a try, personalize it to your liking, and invite friends to share in the comfort!
PrintCheesy Tuna Melt

A comforting and easy-to-make Cheesy Tuna Melt, perfect for any time of day.
- Prep Time: 10 minutes
- Cook Time: 10 minutes
- Total Time: 20 minutes
- Yield: 2 servings
- Category: Main Course
- Method: Grilling
- Cuisine: American
- Diet: None
Ingredients
- Canned tuna
- 2 tablespoons mayonnaise
- 1 cup cheese (cheddar or American)
- 4 slices of bread (your choice)
- Onions (optional)
- Celery (optional)
- Salt and pepper to taste
- Butter
Instructions
- Heat a skillet over medium heat.
- Mix together the canned tuna, mayonnaise, cheese, and any optional ingredients like onions or celery. Season with salt and pepper.
- Spread butter on the outside of the bread slices.
- Place one slice in the skillet, add the tuna mixture on top, then cover with another slice of bread.
- Cook until golden brown, then flip and cook the other side.
- Remove from skillet, slice, and enjoy!
Notes
Can substitute Greek yogurt for mayonnaise for a lighter option. Use quality tuna and fresh bread for best flavor.