
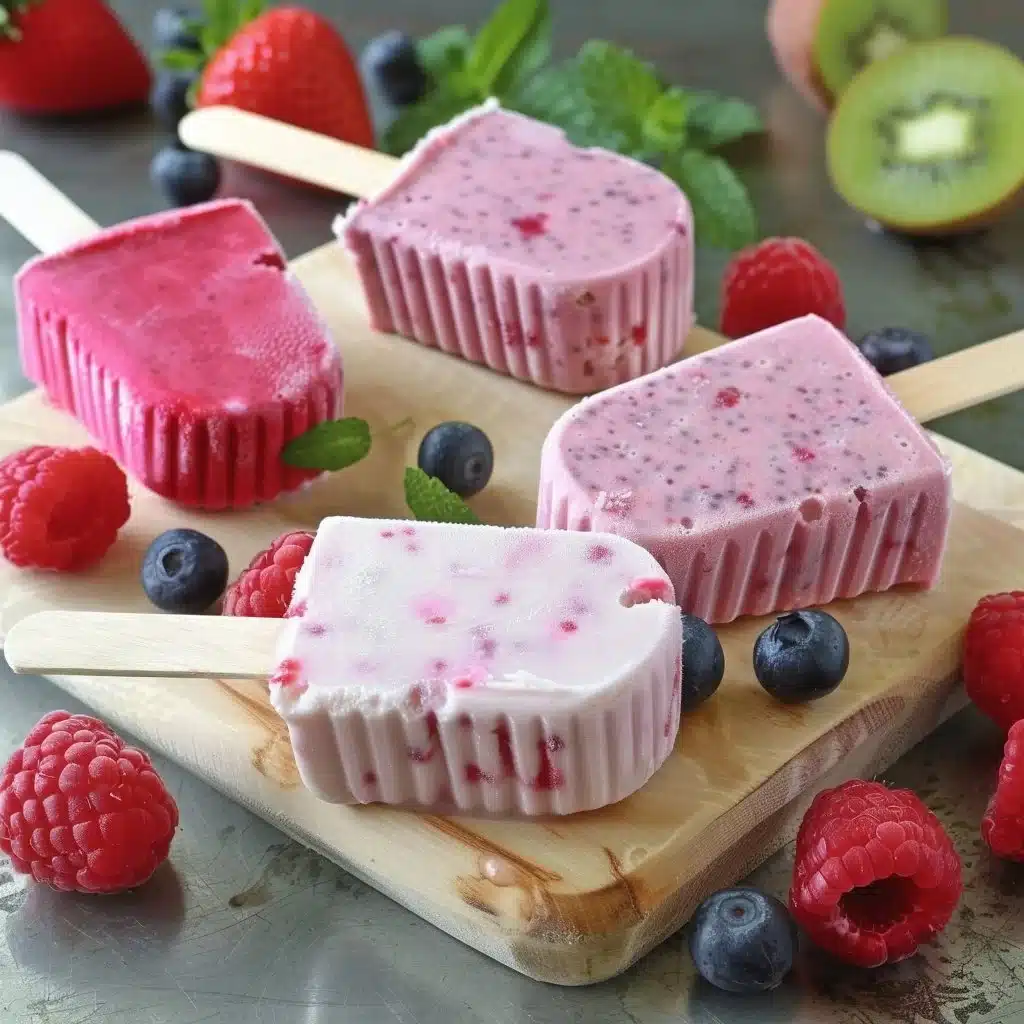
Fruity frozen yogurt pops are the perfect treat for a hot day. They’re refreshing, easy to make, and incredibly tasty. Whether you’re looking to satisfy a sweet tooth or find a healthier snack for the kids, these yogurt pops deliver both flavor and fun. Plus, they’re a fantastic way to use up leftover fruit. Let’s dive into why you should make these delightful pops this summer!
Why You’ll Love This
These fruity frozen yogurt pops stand out for several reasons. First, they’re incredibly easy to whip up, needing just a few ingredients and minimal effort. You can blend, pour, and freeze—all in under 10 minutes. They’re not just quick; they’re also budget-friendly and perfect for busy families.
These pops are a great choice for parties, snacking, or even meal prep. They appeal to kids and adults alike, making them great for get-togethers or just a fun treat at home.
“This recipe turned out even better than I expected. It’s simple, but the flavor is amazing.”
Step-by-Step Overview
Making fruity frozen yogurt pops is a breeze. You’ll blend yogurt and fruit to create a smooth mixture, pour it into molds, and freeze. This leaves you with creamy, fruity pops that are ready to enjoy after a few hours. Just follow the easy steps below to get started!
What You’ll Need
- 2 cups yogurt (plain or flavored)
- 1 cup fruit (fresh or frozen, such as berries, mango, or peaches)
- 1/4 cup honey or sugar (optional, to taste)
- 1 teaspoon vanilla extract (optional)
- Popsicle molds
Helpful Notes
- Substitutions: You can use any yogurt you like—Greek, dairy-free, or low-fat—depending on your preference.
- Quality Tips: Choose ripe, fresh fruit for the best flavor; frozen fruit is good too!
- Why It Matters: Yogurt provides creaminess and protein, while fruit adds natural sweetness and vitamins.
- Optional Add-Ins: For some fun, try adding in a tablespoon of nut butter or a sprinkle of flaxseeds.
Directions to Follow
- In a blender, combine the yogurt, fruit, honey (if using), and vanilla extract. Blend until smooth.
- Pour the mixture into popsicle molds, leaving a little space at the top for expansion.
- Insert sticks into the molds and freeze them for at least 4-6 hours or until solid.
- When you’re ready to enjoy, run warm water over the outside of the molds for a few seconds, then gently pull out the pops.
Best Ways to Enjoy It
These fruity frozen yogurt pops are great on their own, but you can elevate them even more. Here are a few serving suggestions:
- Side Dishes: Pair them with a light fruit salad for a refreshing snack.
- Garnish Ideas: Drizzle with chocolate or sprinkle with granola for an extra crunch.
- Occasion Ideas: Serve them at birthday parties, summer barbecues, or even as a cool treat after dinner.
Storage and Reheating Tips
To keep your fruity frozen yogurt pops fresh, follow these storage tips:
- Refrigerator Storage Time: These pops are best enjoyed fresh, but they can stay in the freezer for about 2 months.
- Freezer Guidance: Keep them wrapped in plastic wrap or sealed in a freezer-safe bag to avoid freezer burn.
- Food Safety Notes: If your fruit starts to look or smell off, it’s time to toss the pops!
Helpful Cooking Tips
Here are some tricks to ensure your pops turn out perfectly:
- Common Mistakes to Avoid: Don’t overfill the molds; leave room for expansion while freezing.
- Texture Control Advice: For creamier pops, blend until fully smooth.
- Flavor Balancing Tips: Taste the fruit mixture before freezing; add more honey or sugar if needed.
- Time-Saving Shortcuts: Use store-bought yogurt or pre-cut frozen fruit to speed up the process.
Creative Twists
Feel free to switch things up with these variations:
- Flavor Variations: Try different fruit combinations like strawberries and bananas or peaches and blueberries.
- Dietary Swaps: Use dairy-free yogurt for a vegan-friendly option.
- Ingredient Swaps: Instead of honey, you could use maple syrup or agave nectar for sweetness.
Common Questions
Can I make it ahead?
Yes! These fruity frozen yogurt pops can be made in advance and stored in the freezer for up to 2 months.
Can I freeze it?
Absolutely! They are designed to be frozen until solid for the best texture.
Can I substitute an ingredient?
Definitely! You can use a variety of fruits, sweeteners, and types of yogurt to customize to your taste.
Why did mine turn out dry/wet?
If they are too dry, try blending the mixture longer. If they turn out too wet, reduce the amount of fruit or yogurt next time.
How long does it last?
Your yogurt pops will be best enjoyed within 2 months, but can last longer if stored properly.
Final Thoughts
Fruity frozen yogurt pops are a delightful and refreshing treat perfect for any occasion. Not only are they fun to make, but they’re also a healthier alternative to store-bought popsicles. Give them a try, and customize them to fit your tastes. Enjoy the process and savor the sweet reward!
PrintFruity Frozen Yogurt Pops
Refreshing and easy to make fruity frozen yogurt pops, perfect for hot days and using up leftover fruit.
- Prep Time: 10 minutes
- Cook Time: 0 minutes
- Total Time: 10 minutes + 240 minutes freeze time
- Yield: 6 servings
- Category: Dessert
- Method: Freezing
- Cuisine: American
- Diet: Vegetarian
Ingredients
- 2 cups yogurt (plain or flavored)
- 1 cup fruit (fresh or frozen, such as berries, mango, or peaches)
- 1/4 cup honey or sugar (optional, to taste)
- 1 teaspoon vanilla extract (optional)
- Popsicle molds
Instructions
- Combine the yogurt, fruit, honey (if using), and vanilla extract in a blender. Blend until smooth.
- Pour the mixture into popsicle molds, leaving a little space at the top for expansion.
- Insert sticks into the molds and freeze them for at least 240-360 minutes or until solid.
- Run warm water over the outside of the molds for a few seconds, then gently pull out the pops.
Notes
Choose ripe, fresh fruit for the best flavor; frozen fruit is good too! Optional add-ins include nut butter or flaxseeds.