
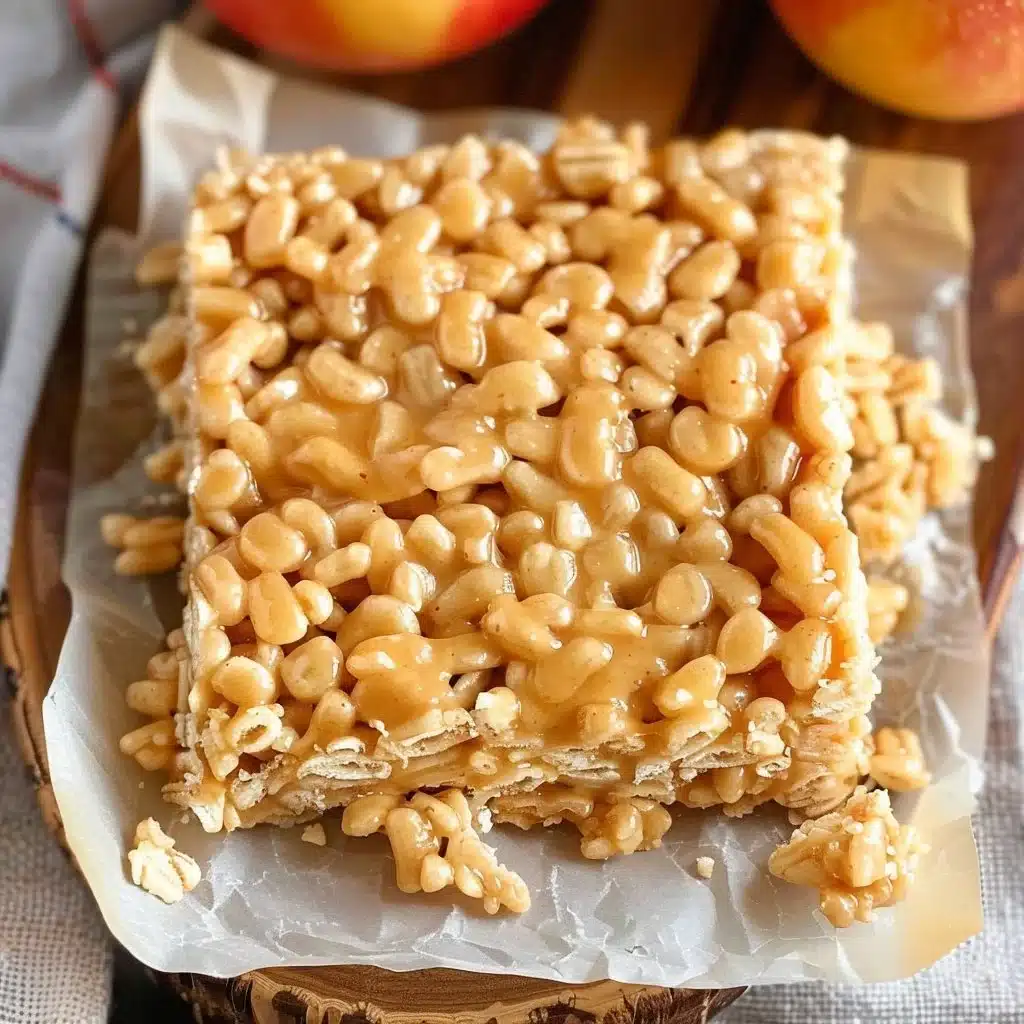
Apple Pie Rice Krispie Treats capture the comforting flavors of apple pie in a fun and easy-to-make treat. Perfect for fall gatherings or when you’re just craving something sweet, these delightful bars combine crisp cereal, gooey marshmallows, and juicy apples. They’re not only delicious but also super simple to whip up, making them a favorite for busy families and new bakers alike.
Why You’ll Love This
This recipe stands out because it’s quick, easy, and packed with flavor. You’ll love how the sweetness of the caramel mingles with the cinnamon, creating a warm dessert that’s just like fall in a treat! It’s perfect for gatherings, school lunches, or cozy nights at home. Plus, it’s an excellent way to get kids involved in the kitchen!
“This recipe turned out even better than I expected. It’s simple, but the flavor is amazing.”
How It Comes Together
Making Apple Pie Rice Krispie Treats is a breeze. You’ll start by melting butter and marshmallows to create a sweet syrup. Add in your dry ingredients, mix in the apples, and press it all into a baking dish. A drizzle of caramel on top ties everything together. Soon, your kitchen will smell heavenly, and these delicious treats will be ready to enjoy!
What You’ll Need
- 3 tablespoons butter
- 1 package (10 oz) mini marshmallows
- 6 cups Rice Krispies cereal
- 1 teaspoon ground cinnamon
- 1 teaspoon vanilla extract
- 1 cup diced apples
- 1 cup caramel sauce
- 1/2 cup chopped nuts (optional)
Helpful Notes
- Substitutions: Use gluten-free Rice Krispies for a gluten-free option.
- Quality Tips: Fresh apples make a big difference in flavor.
- Why the Ingredient Matters: The butter and marshmallows create the chewy texture we love in Rice Krispie treats.
- Optional Add-Ins: Consider adding raisins or chocolate chips for extra flavor!
Step-by-Step Instructions
- In a large saucepan over low heat, melt the butter.
- Add the mini marshmallows and stir until they’re completely melted.
- Remove from heat, then mix in the cinnamon and vanilla extract.
- Stir in the Rice Krispies cereal and diced apples until everything is well-coated.
- Press the mixture firmly into a greased 9×13-inch baking dish.
- Drizzle caramel sauce over the top and sprinkle with chopped nuts if you like.
- Allow to cool completely before cutting into squares. Enjoy!
Best Ways to Enjoy It
These Apple Pie Rice Krispie Treats are wonderful on their own. However, you can enhance the experience by serving them with a scoop of vanilla ice cream or a dollop of whipped cream on the side. They’re also great for a dessert table at parties or family gatherings, making them a crowd favorite.
Storage and Reheating Tips
- Refrigerator Storage: Keep the treats in an airtight container in the fridge for up to a week.
- Freezer Guidance: You can freeze them for about a month. Just wrap them tightly in plastic wrap and then in aluminum foil.
- Reheating Method: You can enjoy them cold, or warm them in the microwave for a few seconds.
- Food Safety: Always let them cool completely before storing to avoid condensation.
Helpful Cooking Tips
- Common Mistakes to Avoid: Don’t skip the greasing step; it helps with easy removal later.
- Texture Control Advice: For chewier treats, press the mixture in more firmly.
- Flavor Balancing Tips: Taste before adding all the caramel; you want a good balance of flavors.
- Time-Saving Shortcuts: Make the mixture ahead of time and refrigerate until you’re ready to serve.
Creative Twists
- Flavor Variations: Try using different spices like nutmeg or even pumpkin spice for a fun twist.
- Dietary Swaps: For a vegan version, substitute butter with coconut oil and use vegan marshmallows.
- Regional Spins: Add a touch of maple syrup for a distinctly fall flavor.
- Ingredient Swaps: Use other types of cereal, like Cornflakes, for a different crunch.
Common Questions
- Can I make it ahead? Yes! These treats can be made a day in advance and stored properly.
- Can I freeze it? Absolutely! They freeze well, just ensure they’re tightly wrapped.
- Can I substitute an ingredient? Yes, feel free to swap apples for pears or use a different type of nut.
- Why did mine turn out dry/wet? If they’re too dry, you may have overcooked the marshmallows; if wet, ensure they cooled properly before storing.
- How long does it last? Generally, these treats last about a week when stored in the fridge.
Final Thoughts
Apple Pie Rice Krispie Treats are a delightful way to bring the flavors of fall into a simple dessert. They’re easy to make and perfect for any occasion. Give this recipe a try, customize it to your taste, and share the joy of these sweet treats with friends and family!
PrintApple Pie Rice Krispie Treats
A fun and easy treat that captures the comforting flavors of apple pie, perfect for fall gatherings.
- Prep Time: 15 minutes
- Cook Time: 10 minutes
- Total Time: 25 minutes
- Yield: 12 servings
- Category: Dessert
- Method: No-Bake
- Cuisine: American
- Diet: Vegetarian
Ingredients
- 3 tablespoons butter
- 1 package (10 oz) mini marshmallows
- 6 cups Rice Krispies cereal
- 1 teaspoon ground cinnamon
- 1 teaspoon vanilla extract
- 1 cup diced apples
- 1 cup caramel sauce
- 1/2 cup chopped nuts (optional)
Instructions
- Melt the butter in a large saucepan over low heat.
- Add the mini marshmallows and stir until completely melted.
- Remove from heat, then mix in the cinnamon and vanilla extract.
- Stir in the Rice Krispies cereal and diced apples until well-coated.
- Press the mixture firmly into a greased 9×13-inch baking dish.
- Drizzle caramel sauce over the top and sprinkle with chopped nuts if desired.
- Allow to cool completely before cutting into squares. Enjoy!
Notes
For a gluten-free option, use gluten-free Rice Krispies. Fresh apples enhance flavor.